
Mend and Repair
It all begins with an idea.
Some simple mending instructions to make your clothes last longer

When you look at worn, but loved clothes, how do you feel? Would you have the skills and confidence to patch a hole, mend a tear, or sew on a button? Well I’m here to help you learn the simple and easy techniques to start you on your mending journey!
At a time when we are all looking for ways to reduce anxiety and stress, connecting with our hands through sewing is excellent at calming the mind, slowing the heart rate and giving us restful focus both physically and mentally. Self esteem is boosted too when you see what you have accomplished with your own hands, and hearing the appreciation of others can be the icing on the cake. Saving money, lessening our impact on the planet, embracing creativity, and improving hand eye coordination, are all other rewards that mending can bring us.
Clothing repair, traditionally, was done as invisibly as possible, to hide the age of the clothing, and perhaps the shame of the wearer. But in recent years visible mending, in particular, the Japanese art of Sashiko has become incredibly popular. This is great news for the less skilled sewists out there, as imperfection is celebrated, and the level of skill needed is relatively low.
Sashiko, and its sister craft Boro (patchwork style repair) originated from the peasant folk in Japan. Born out of the necessity to keep their clothes in wear for as long as possible, indigo dyed patches were applied time and time again, one over another until a piece of clothing was almost entirely renewed. (Original Boro garments are now, ironically, highly valuable pieces sought after by collectors all over the world). With this in mind, think how long your clothes could be worn for, if you applied this same technique!
You may have been taught to sew at school, or by a friend or relative, or you may never have had the opportunity to pick up this skill but that doesn’t matter - as the saying goes - there is no time like the present! And the great thing is that, really, there is no wrong way; if it works for you, it’s correct. The more you mend, the better you become at it.
The skills you learn whilst mending can also be put to wonderful creative use with customisation of those pieces in your wardrobe that are in good condition but just don’t sing to you any longer.. the possibilities are endless and only limited by your imagination!
Wear your repairs with pride!

These techniques are for beginners, sewing by hand.
Tools required:
Hand sewing needle
Thread – strong topstitch thread for patching and sashiko
Sharp scissors
Scrap fabrics of various weights
Pins
Chalk or washable white pencil
Ruler

Patching a worn knee or elbow – Visible patch method
1: It’s likely that the fabric around the edges of the hole will be thinner and weaker, so make such that you have a patch big enough to cover this area as well. Choose a fabric for your patch that is of a similar weight to the garment you wish to mend. If mending a worn knee in a child’s trouser, it may help to choose a tougher fabric to withstand further wear.
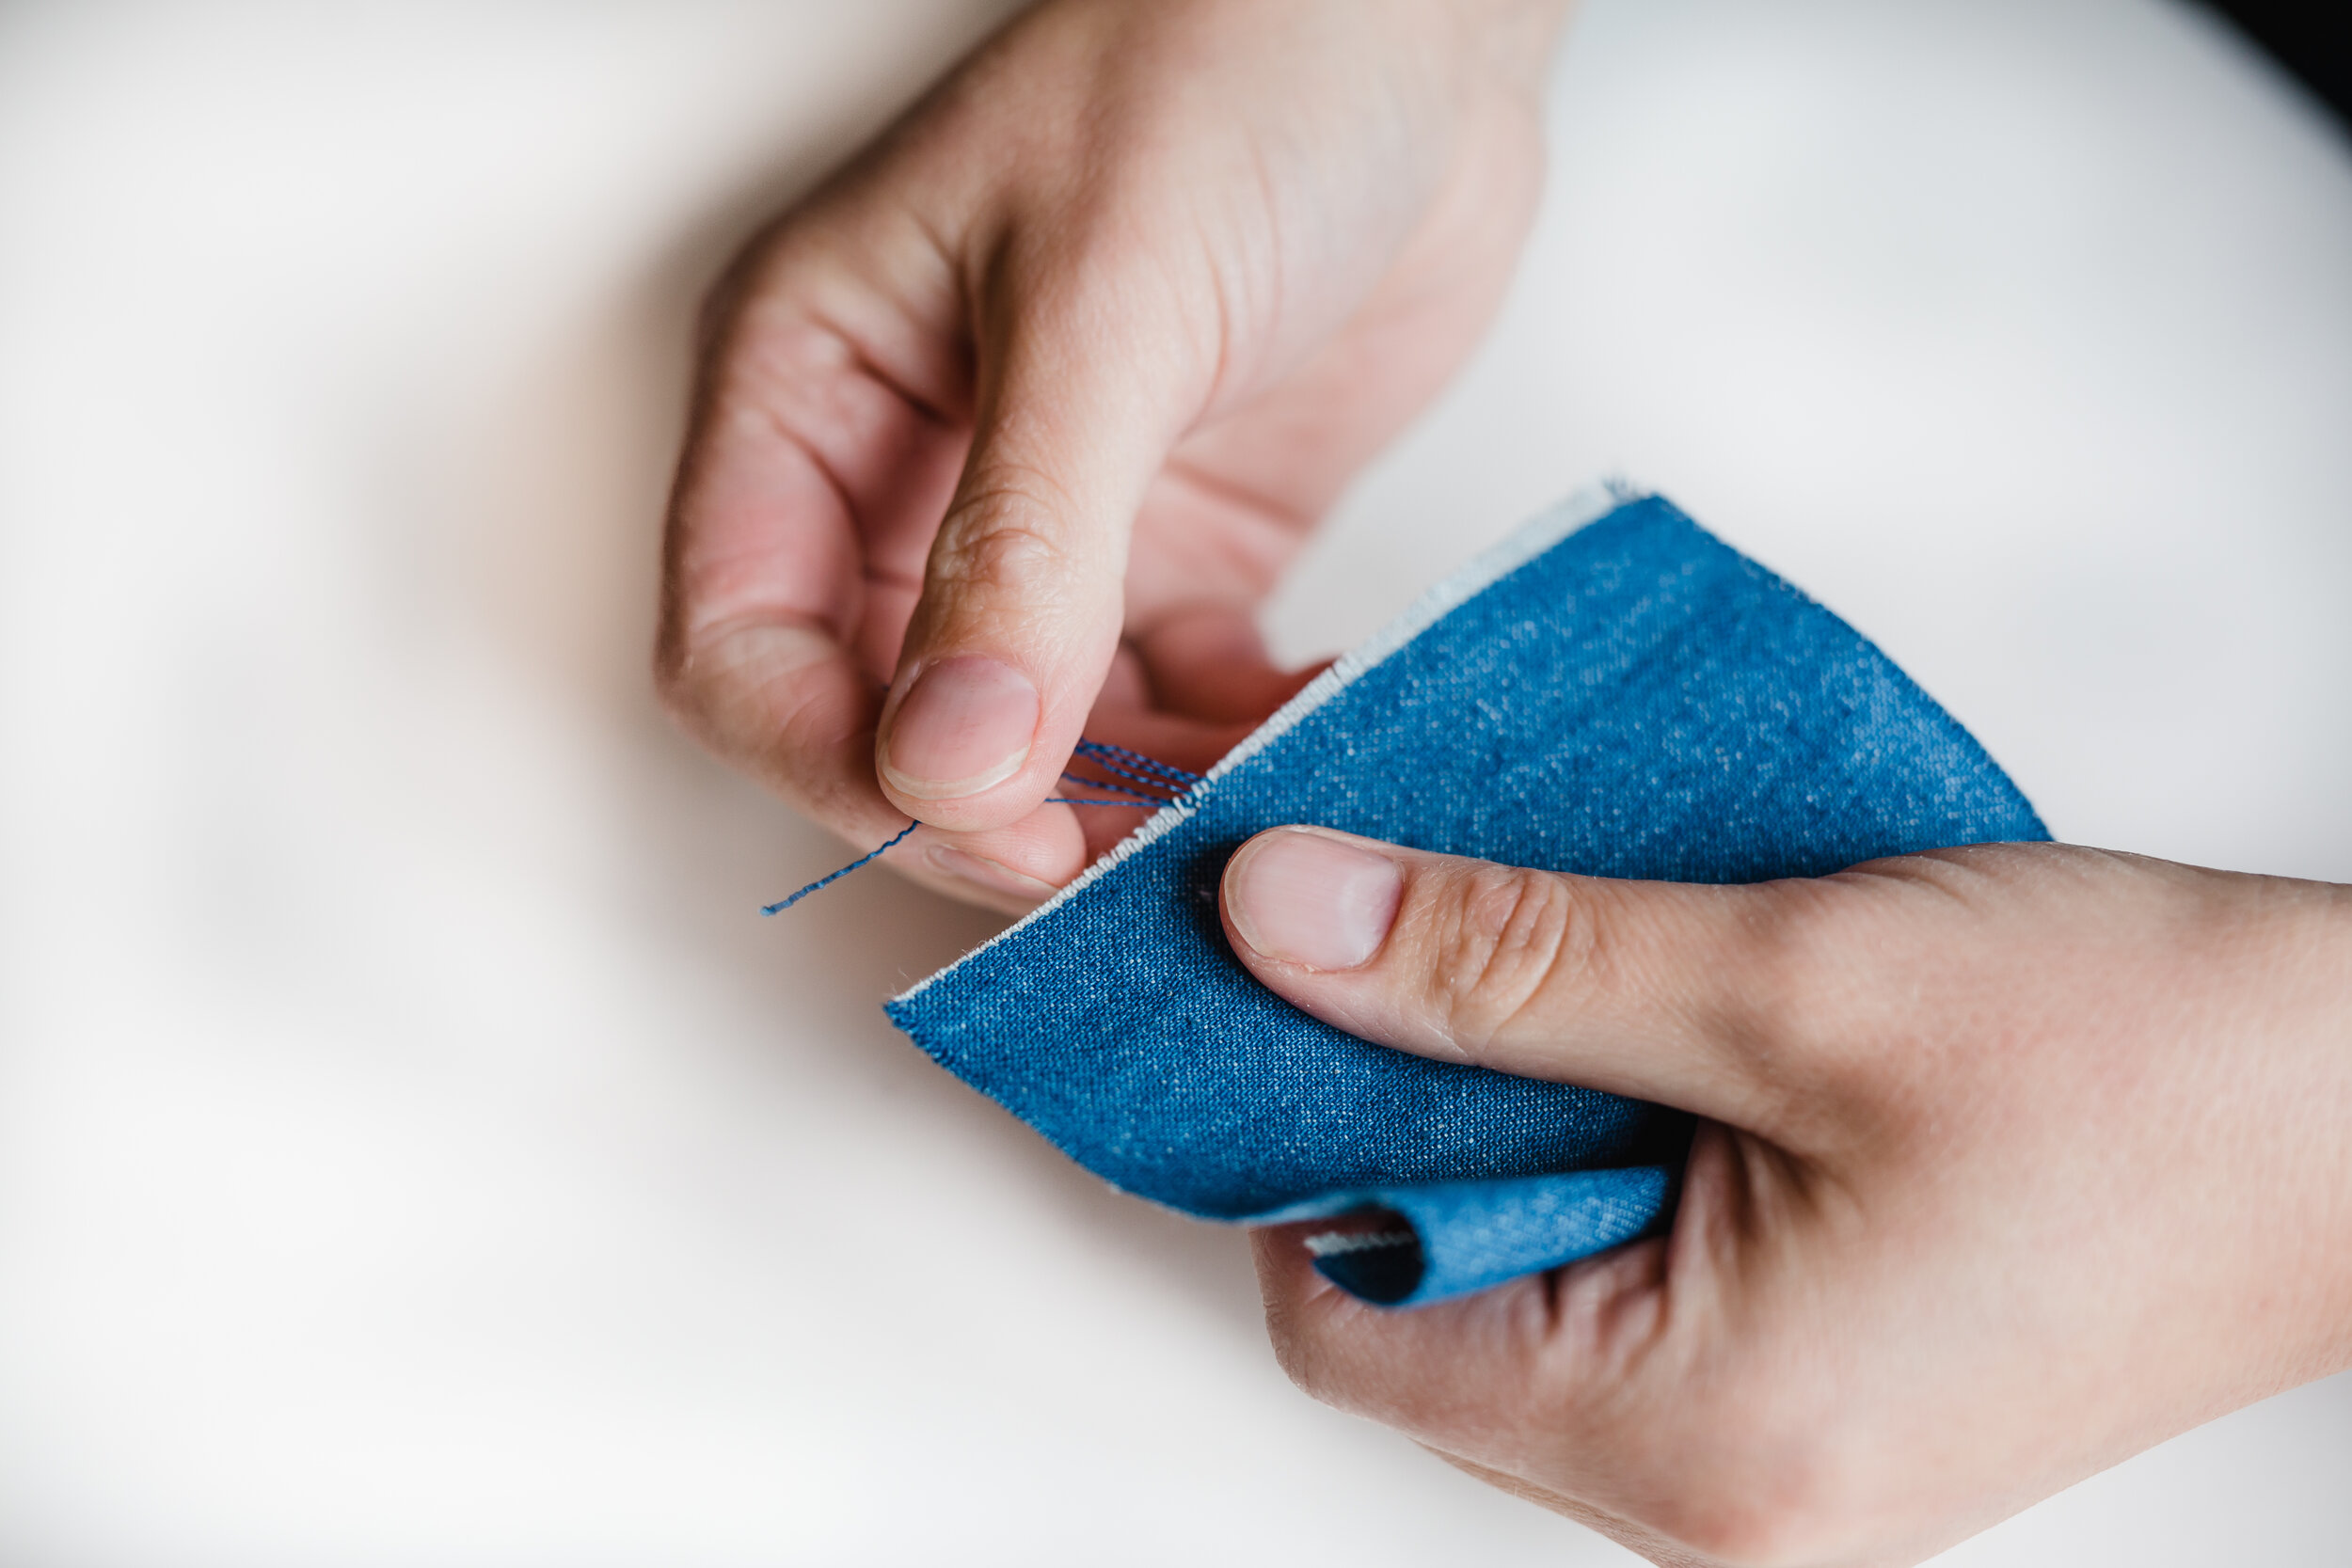
2: Prepare your patch: Carefully cut your patch into a square/rectangle slightly bigger than needed, following the straight lines of the weave (warp and weft). Either iron the edges under (if fabric isn’t too heavy), or carefully pull a few threads away from around the edges, this will reduce fraying.
3: Tack: With sewing thread and needle, tack the patch to the outside of your repair item, using a long running stitch around the edge.
4: Draw a guide line in washable pencil/chalk about 0.7cm in from the edges.
5: Stitch patch: Using a strong thread (topstitching thread is great for this), make a knot in the thread, and start from inside the garment. Make single straight stitches at a right angle to the edge to secure the patch down. Come up from the guideline on the patch, drop the needle down into the repair item and angle the needle about 0.5cm away on the guideline to come back up. This will be your next stitch position. Pull needle through and continue until the full patch is stitched on all sides. Push the needle into the back of the fabric, stitch a couple of stitches over one another, knot and snip. Remove the tacking stitches.


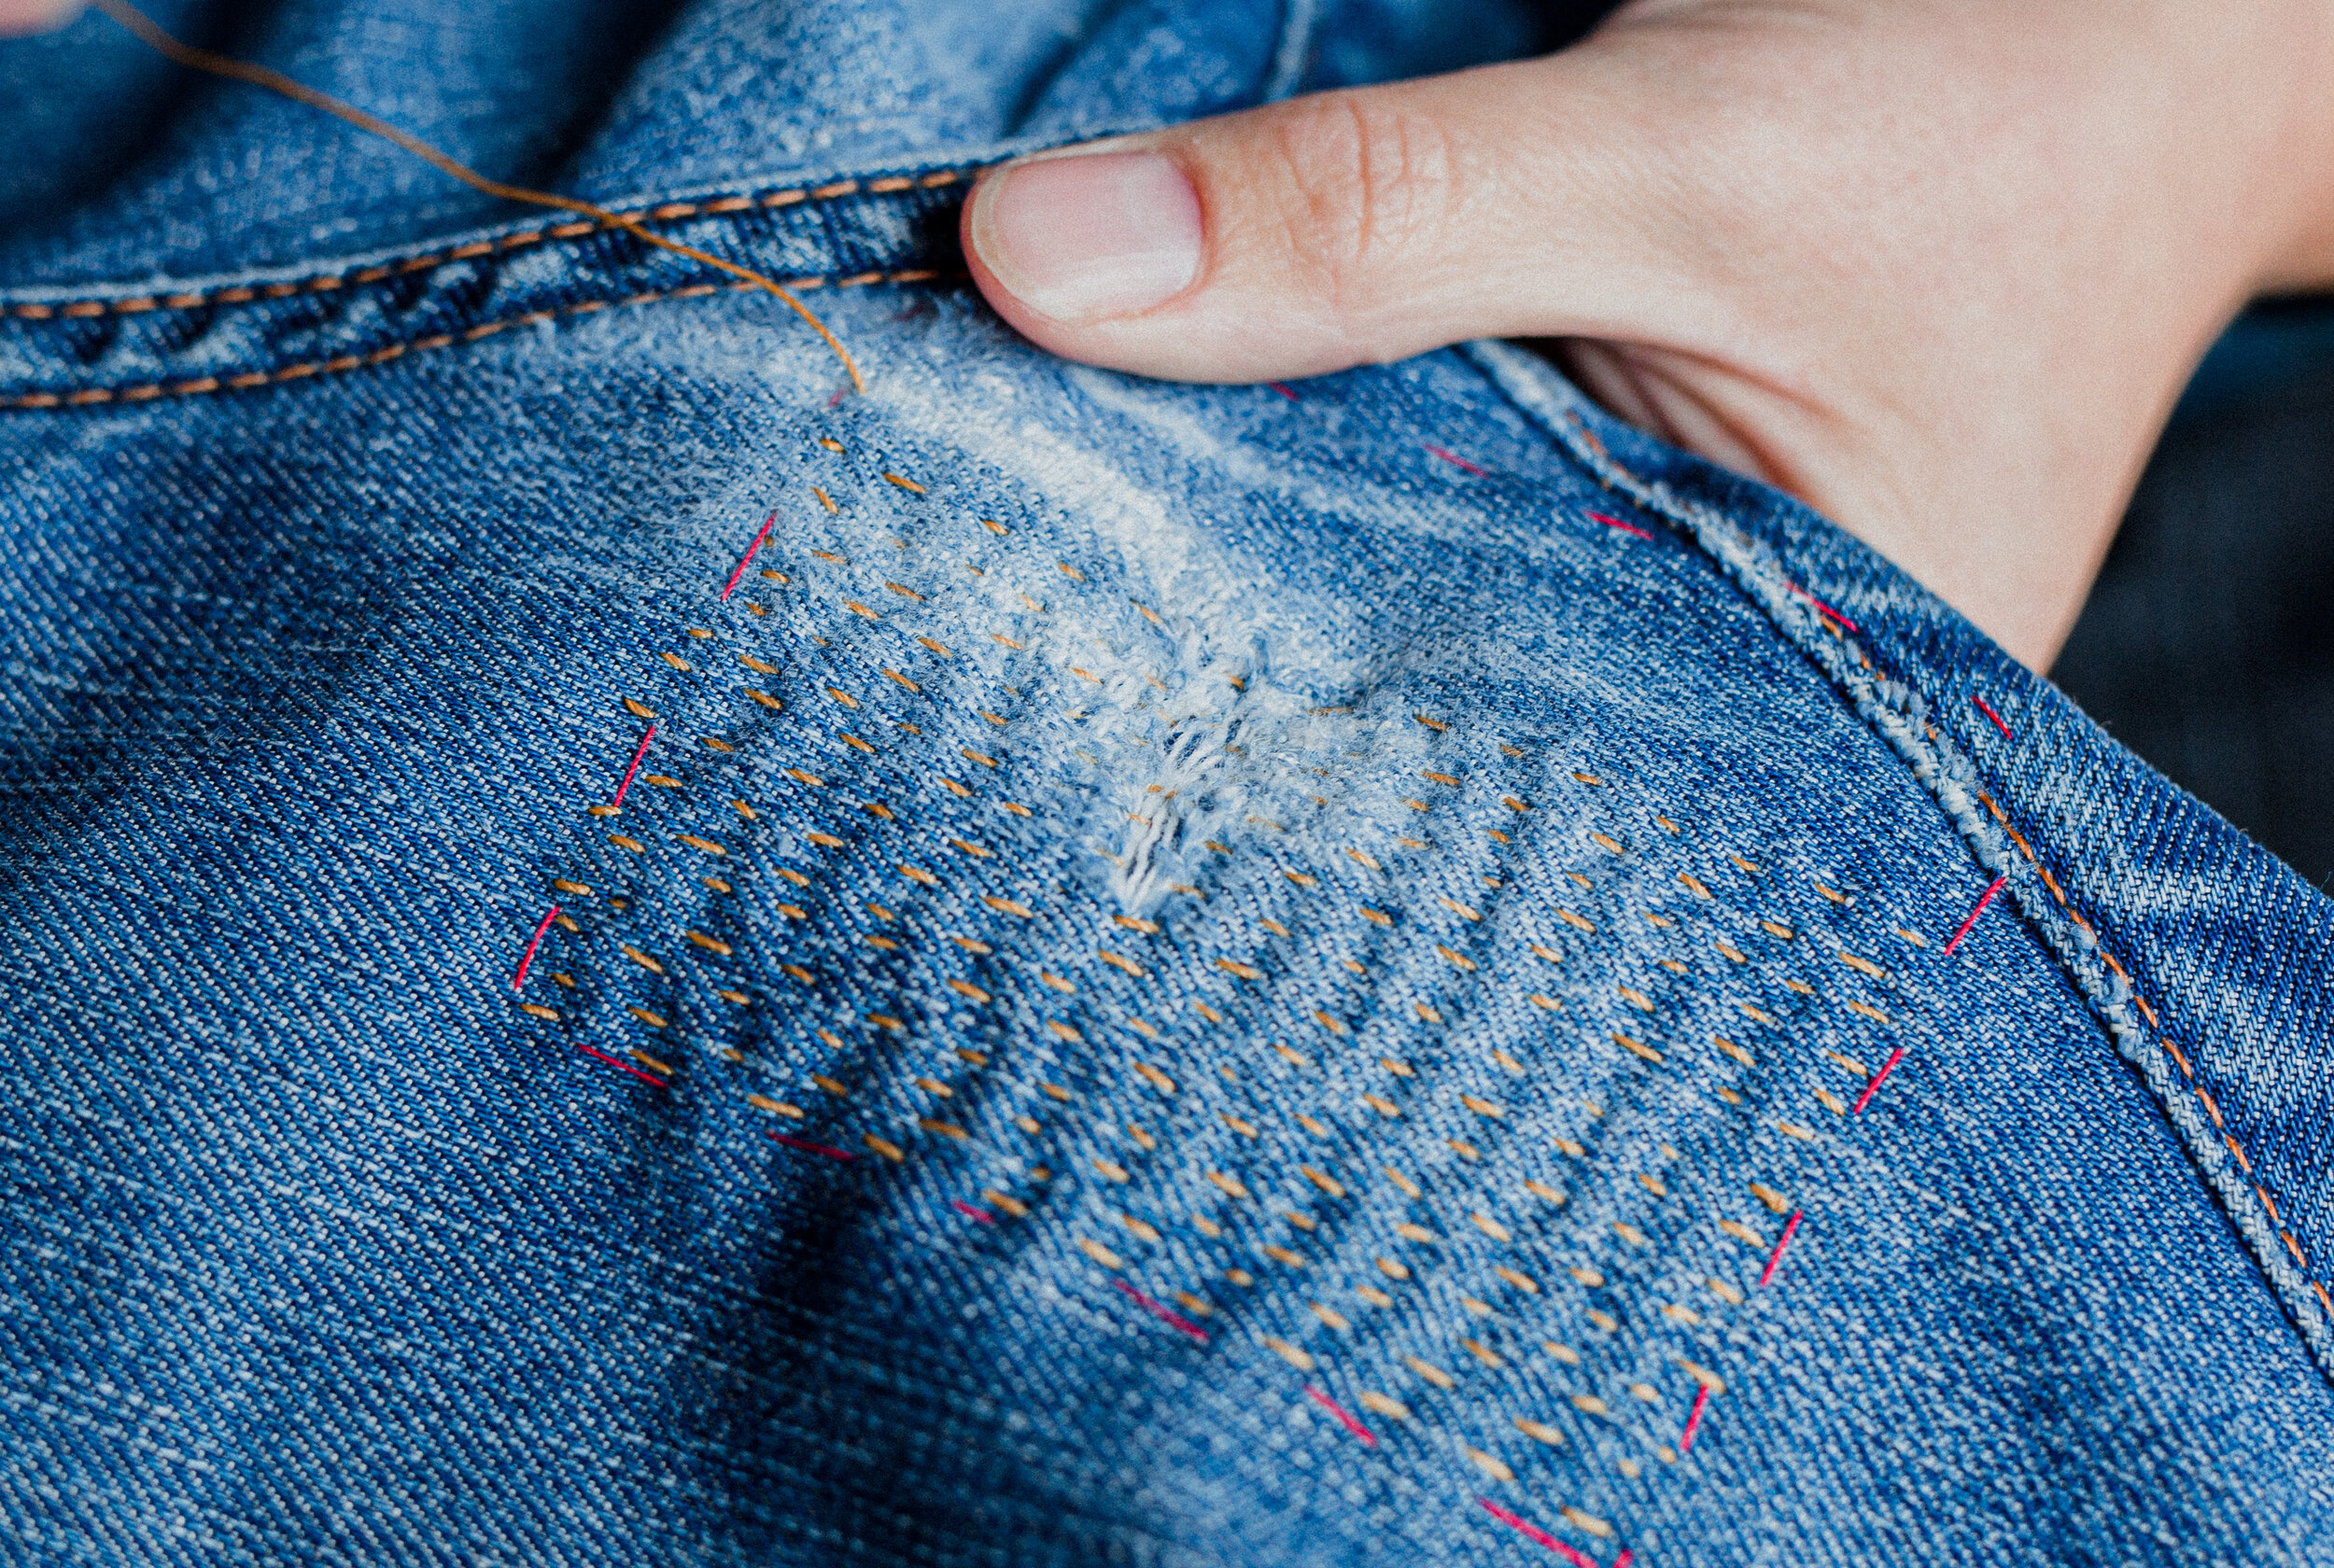
Repairing a worn knee or elbow – Visible mending/Sashiko style
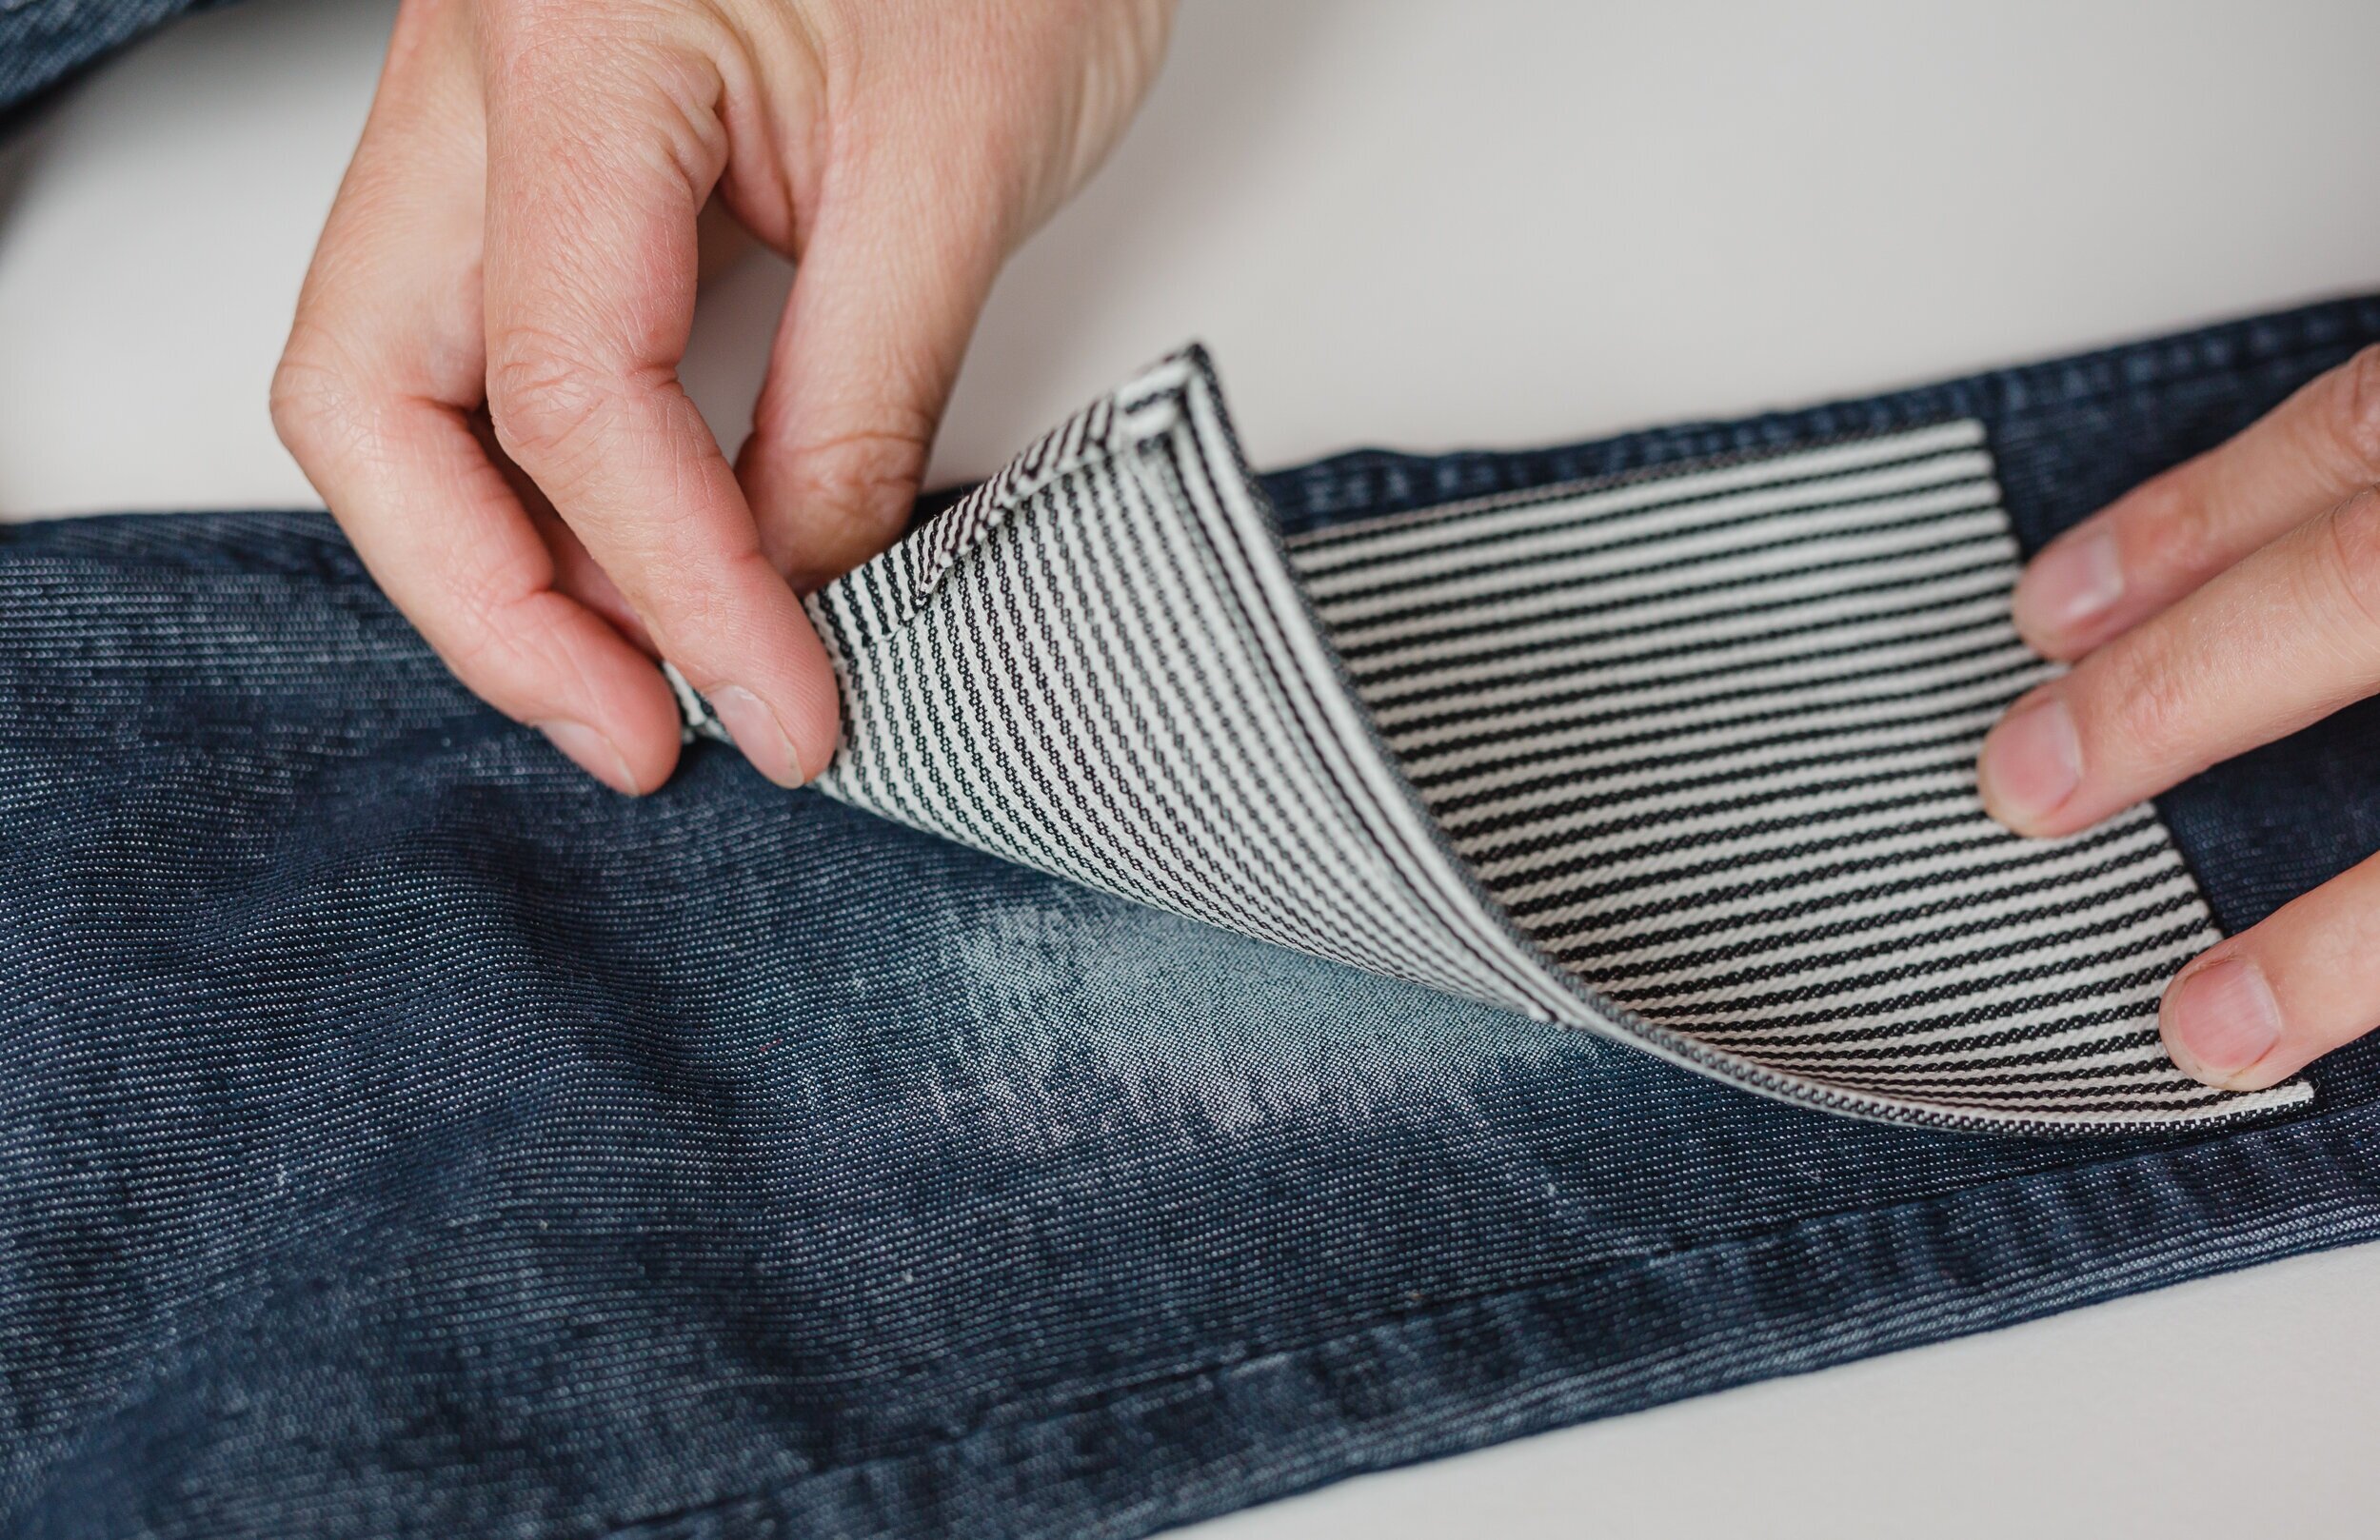
This method will be working with the patch BEHIND the hole, so the hole is visible, but stitched over.
1: Follow step 1 from previous method
2: Prepare the patch and hole: Carefully cut your patch into a square/rectangle, following the straight lines of the weave (warp and weft). Then gently ease a few strands of the fabric off from all edges. This will prevent fraying. Snip off any loose threads around the edge of the hole.
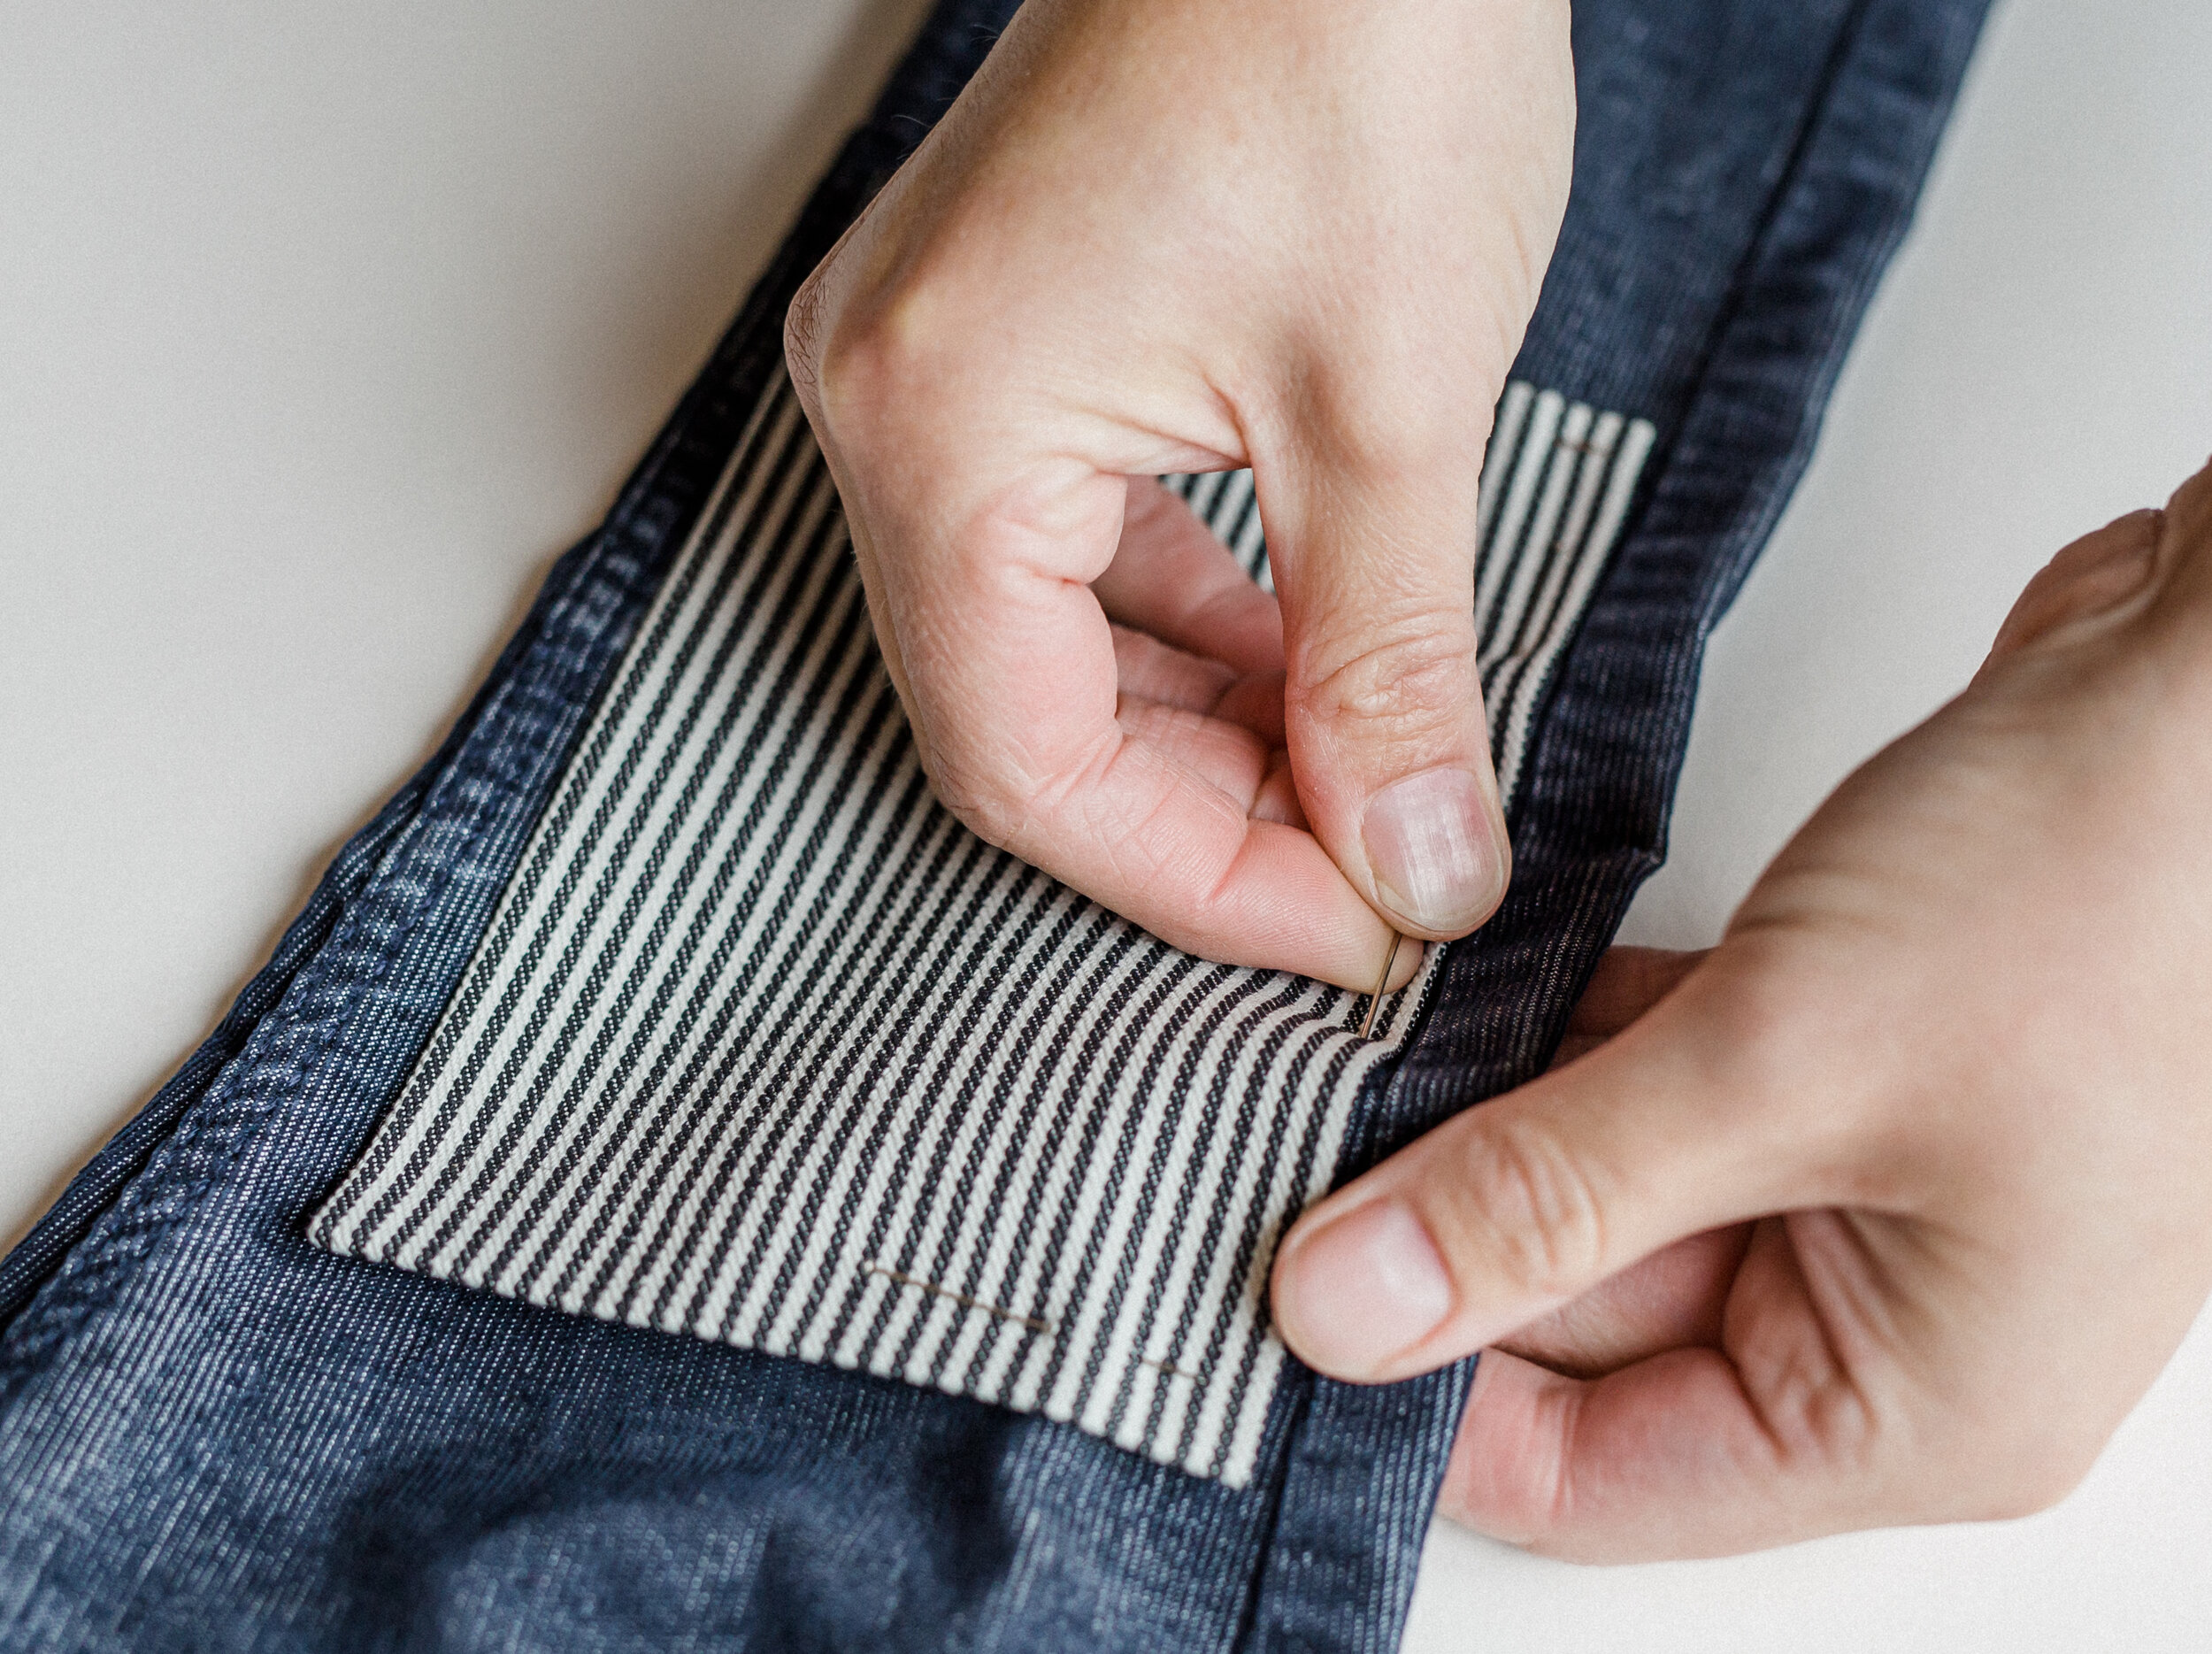
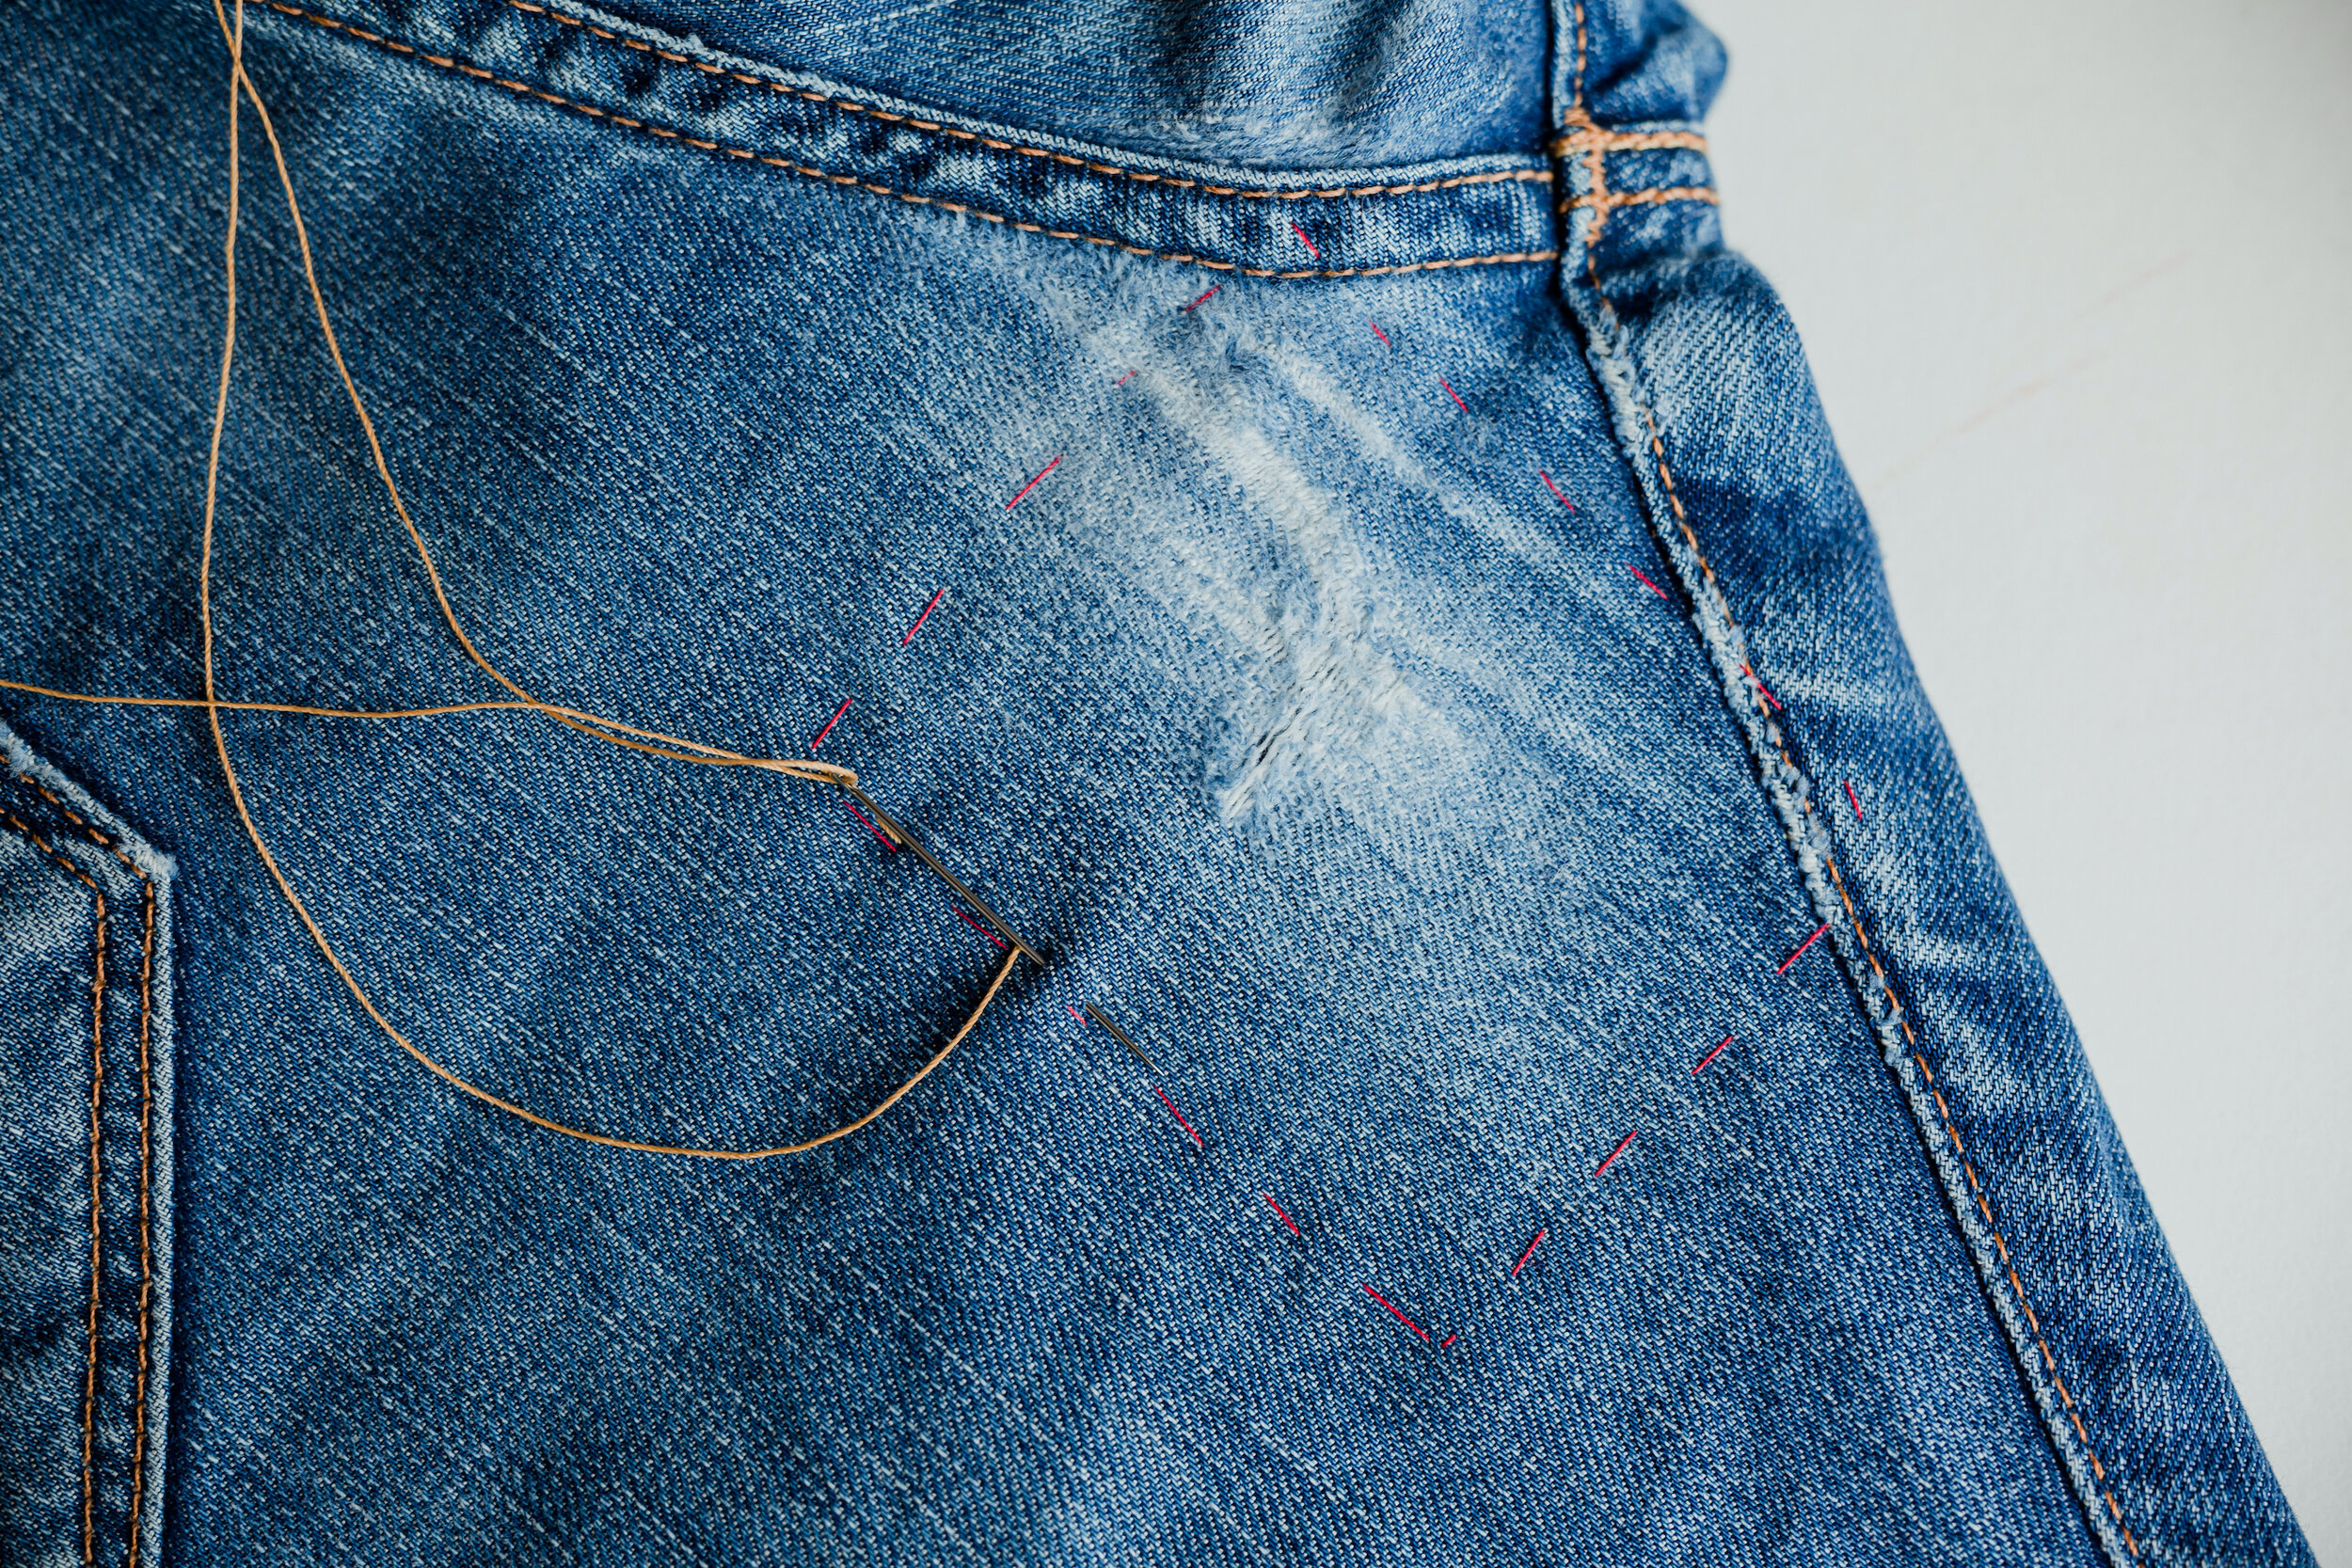
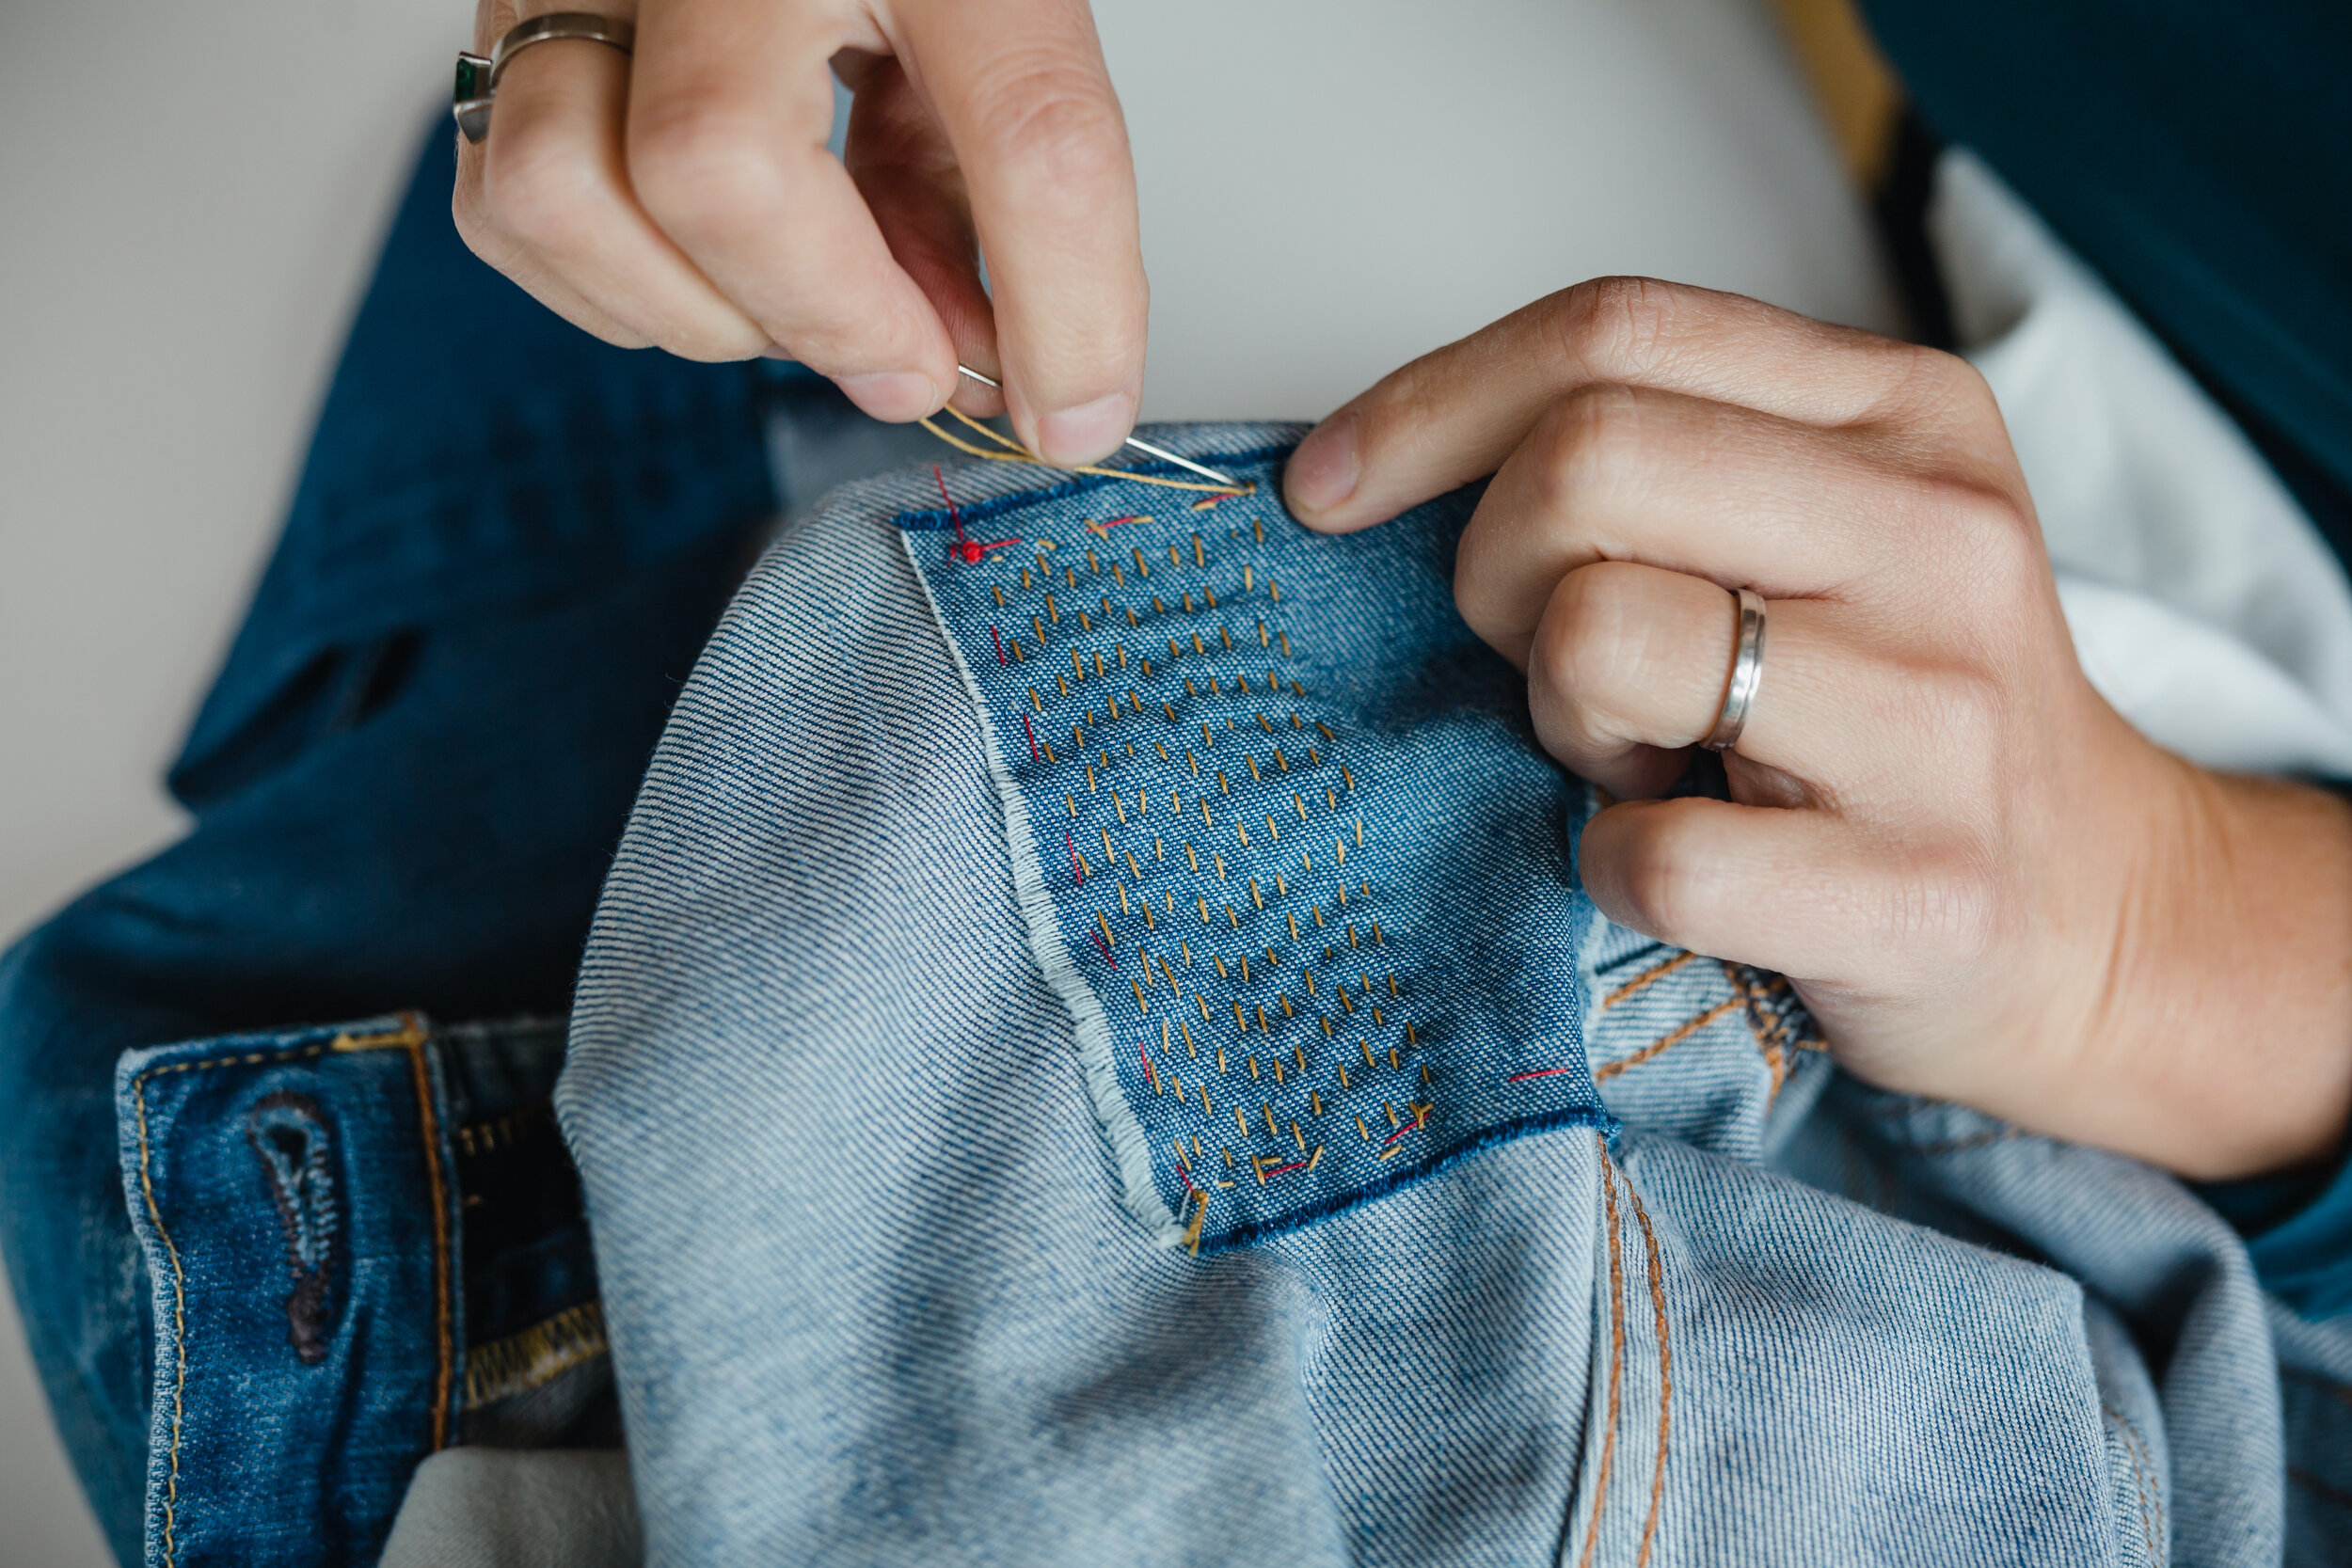
3: Tack: Pin the patch in position to the INSIDE of the garment, then using a long running stitch, sew the patch to the garment, around the edge of the patch. (shown in red)
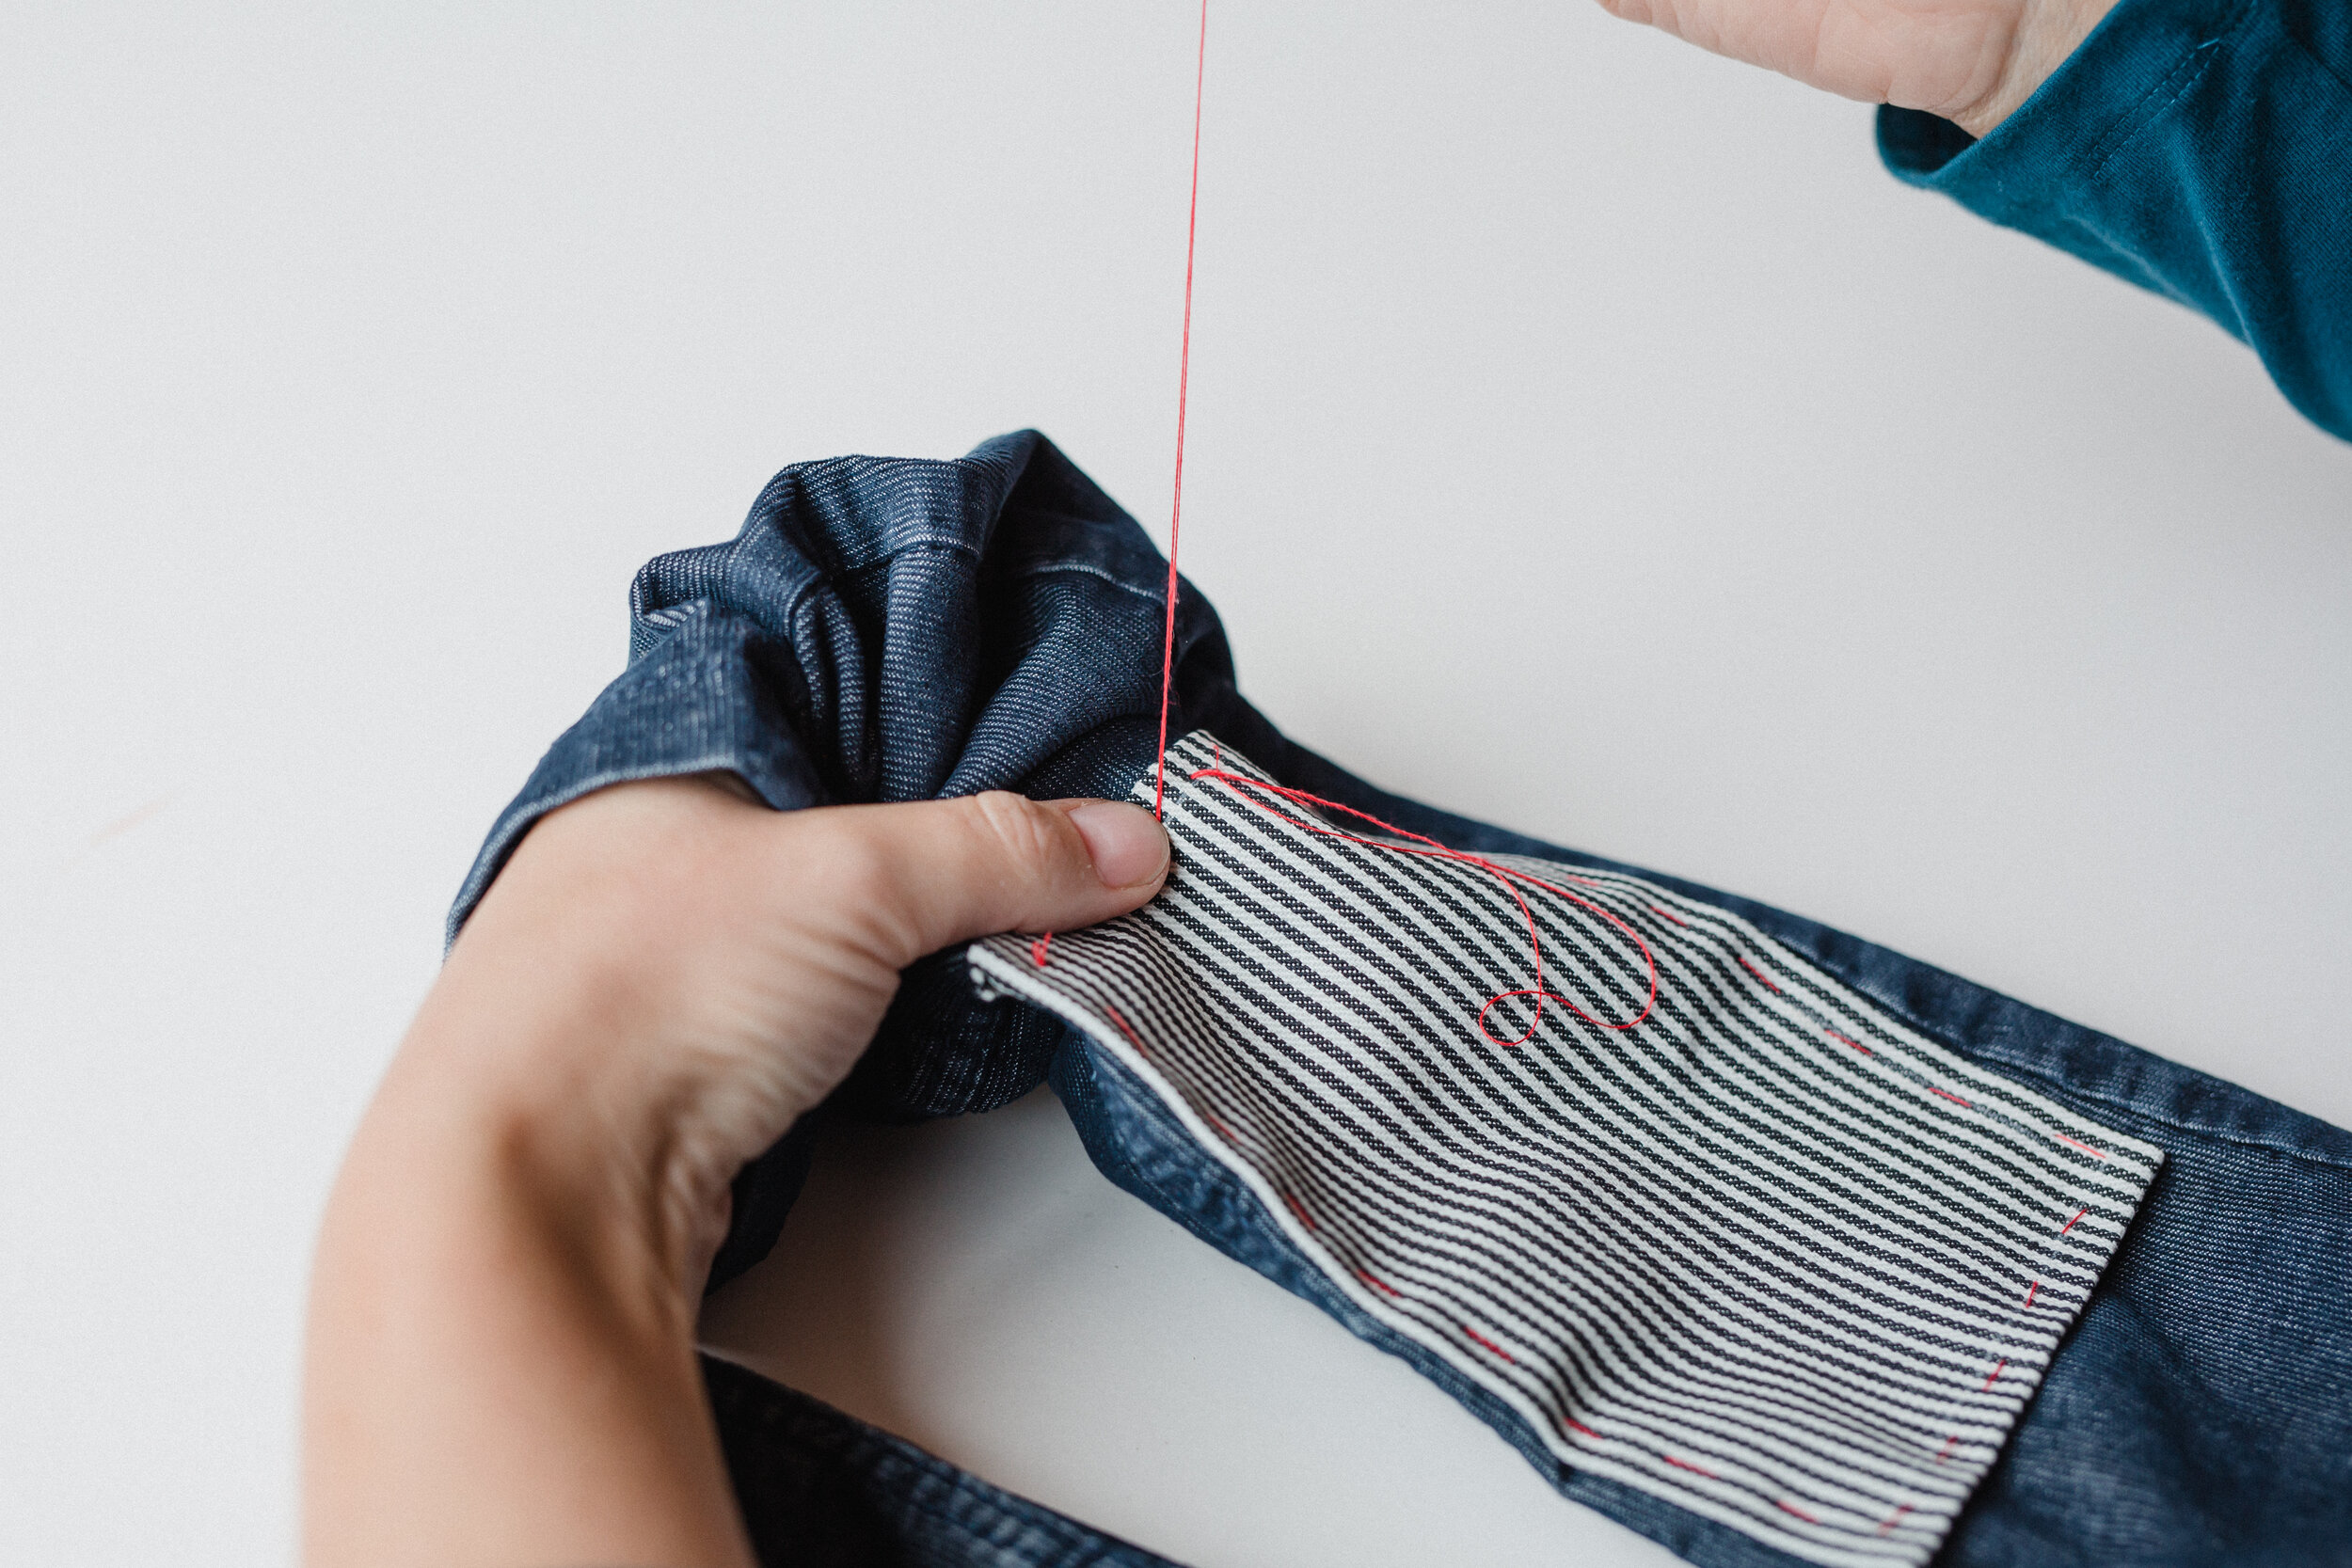
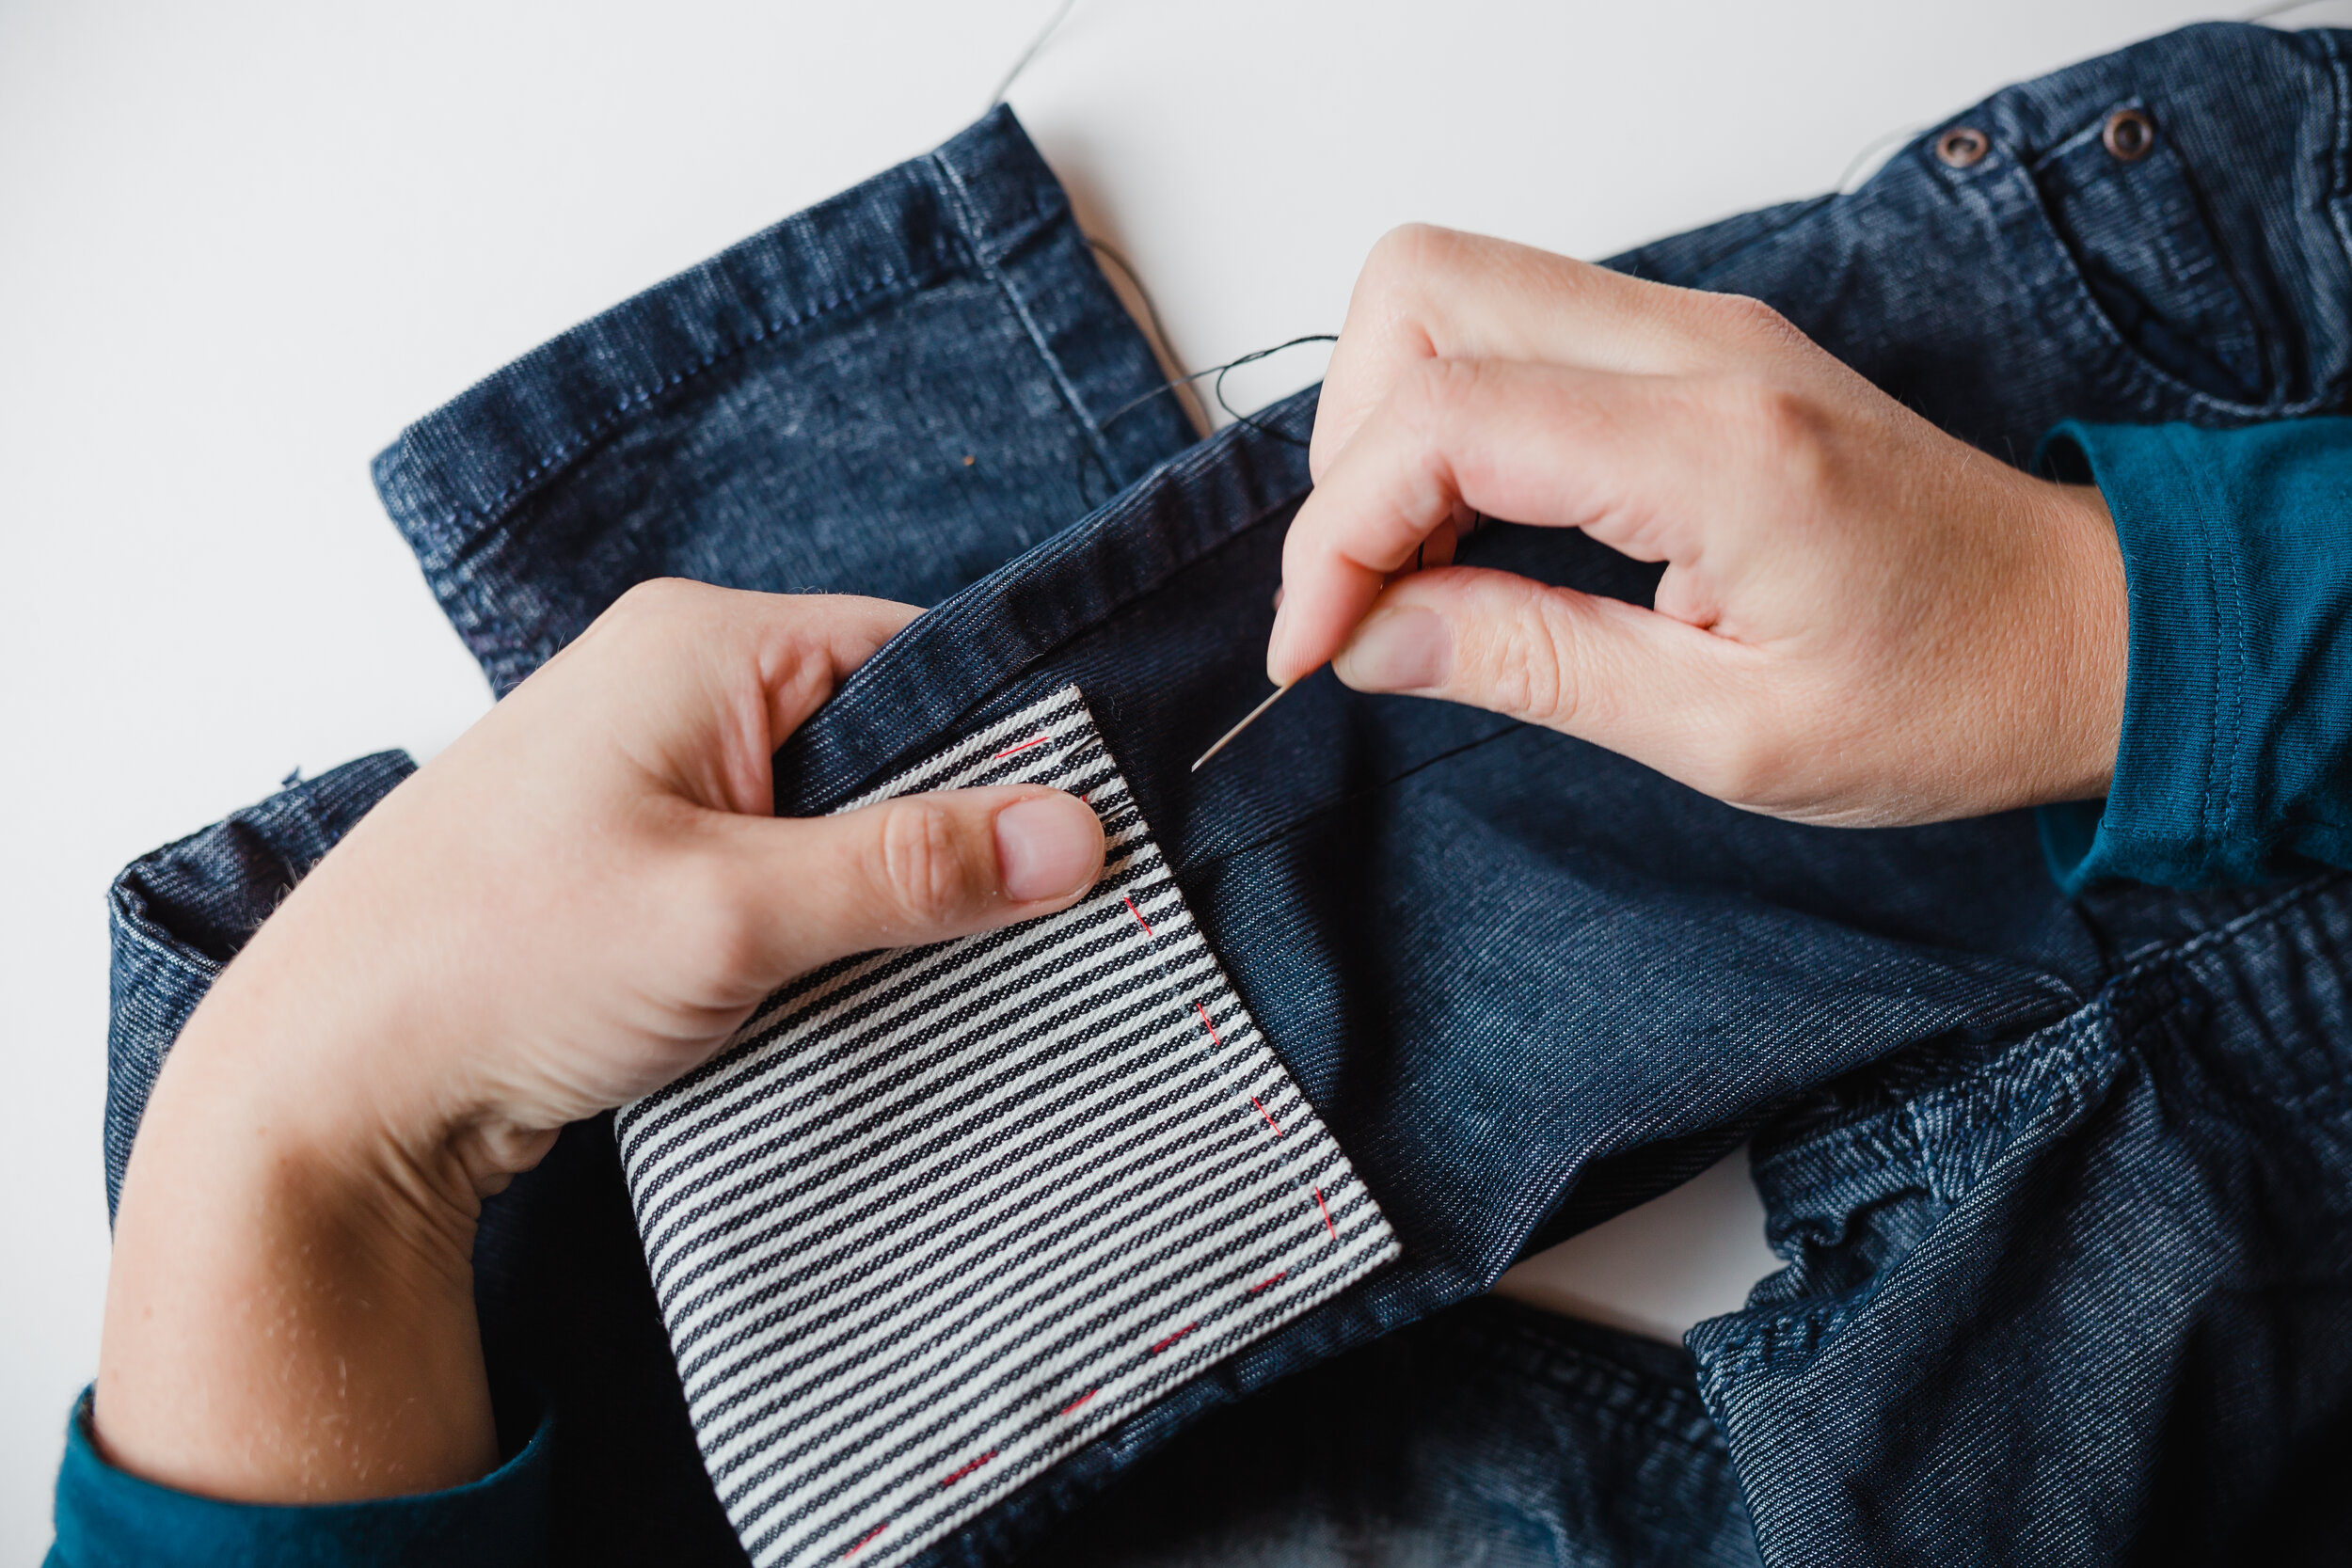
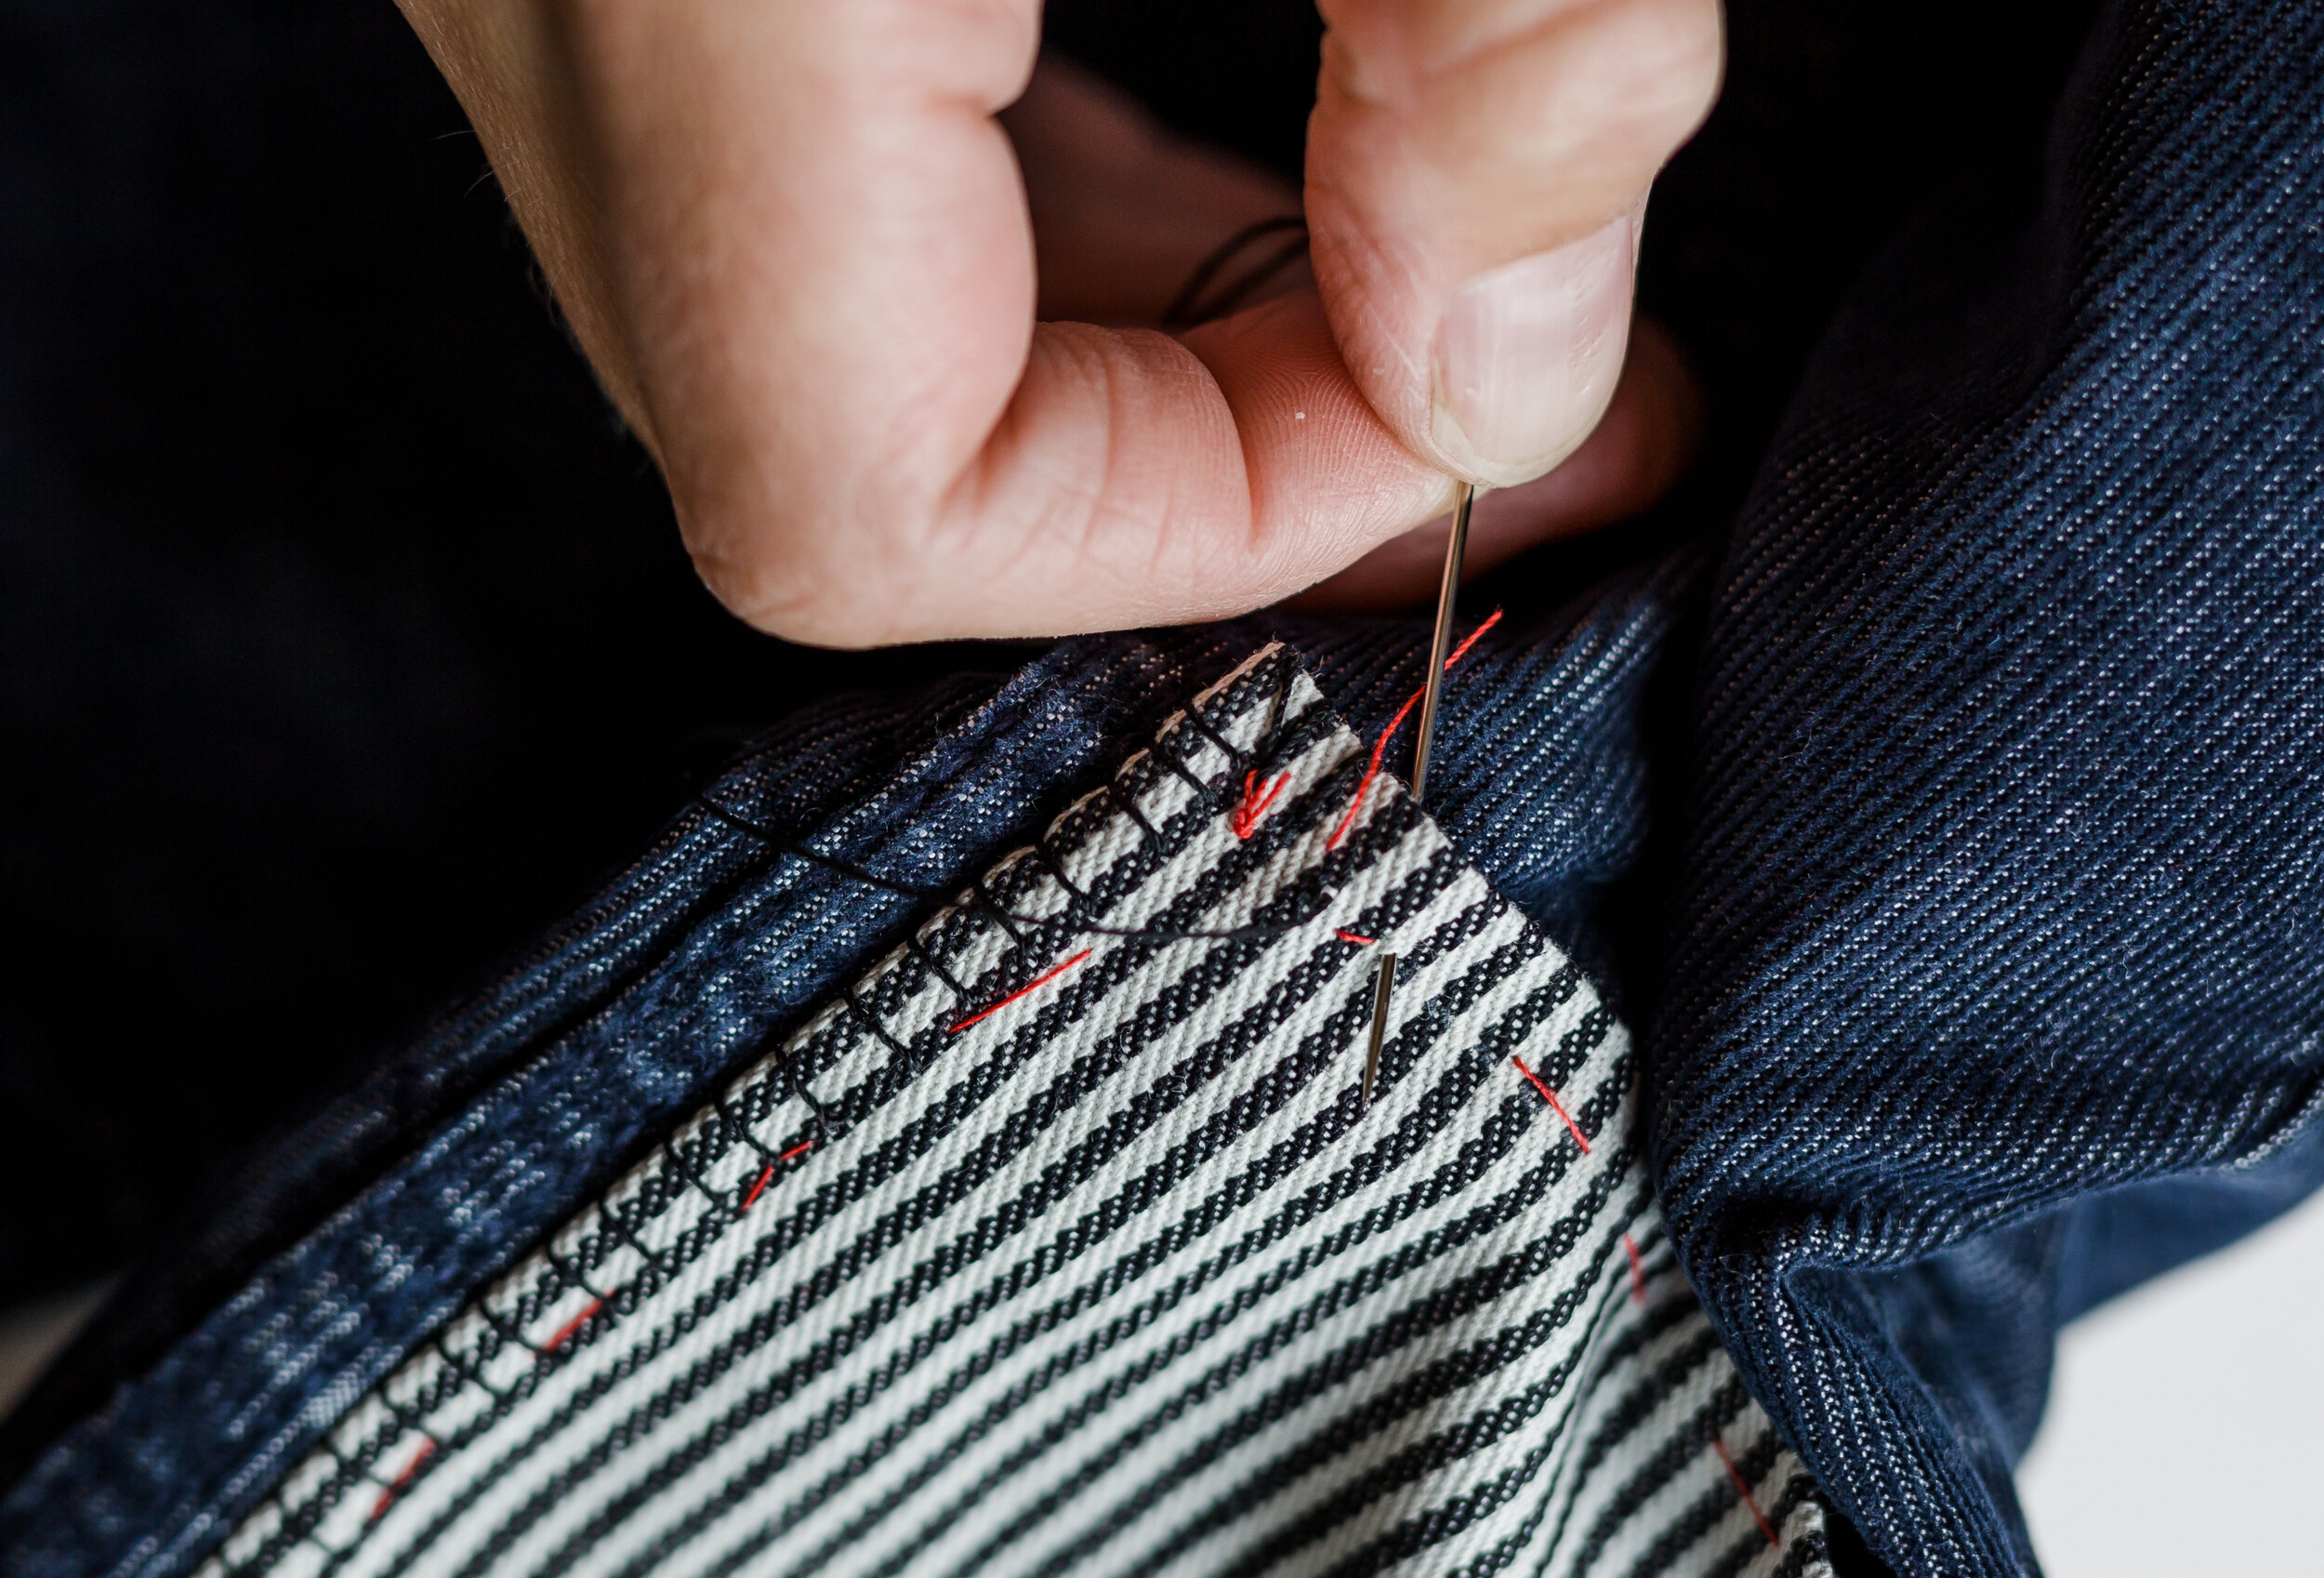
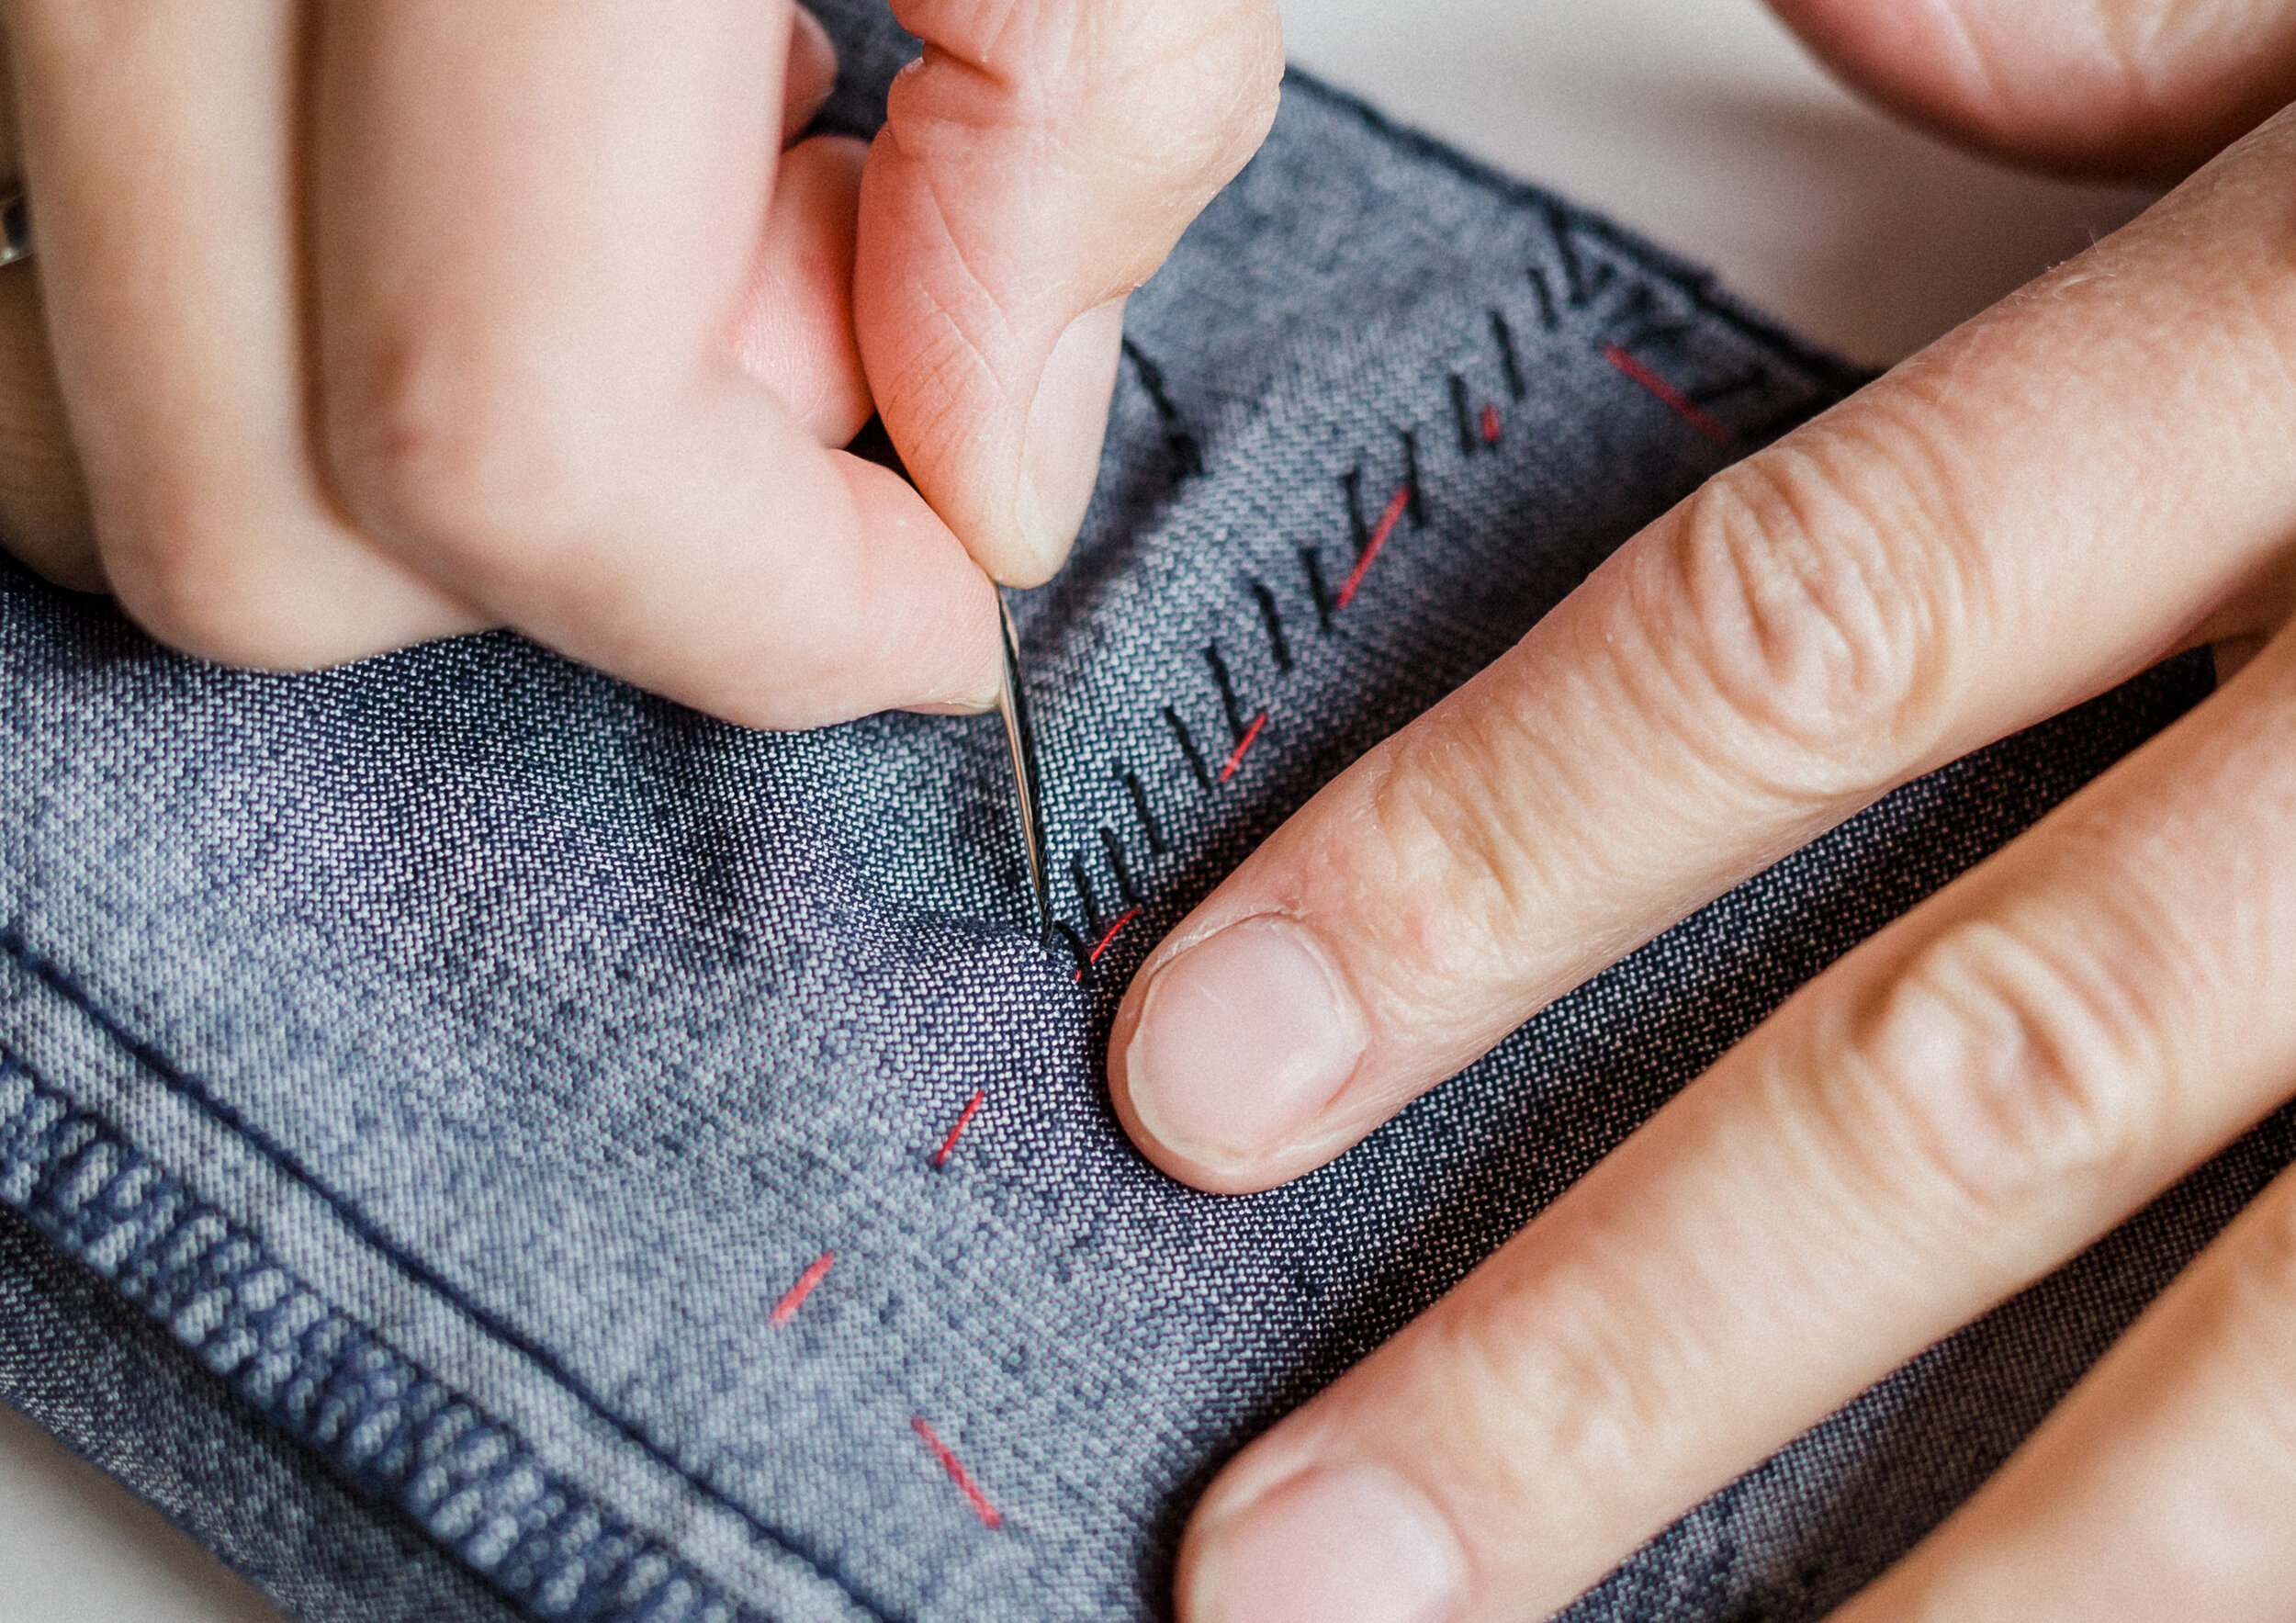
4: Sashiko stitch: Use strong thread (in contrasting colour if you choose), make a knot in the thread, and start from inside the garment. Sew a line of neat running stitch through both layers, along the top edge of the tacking (Your tacking lines will be the guide for the outer edges of stitching). If you are mending a rip, then work across the length of the tear. You will now work your way down the repair area (within your tacking lines), from side to side. If you can, try and stagger the stitches like brickwork. For extra strength you can also go back over the stitches but in the opposite direction so the stitches cross over each other.
5: When you get to the end, push the needle into the back of the fabric, stitch a couple of stitches over one another, knot and snip. Remove the tacking stitches.
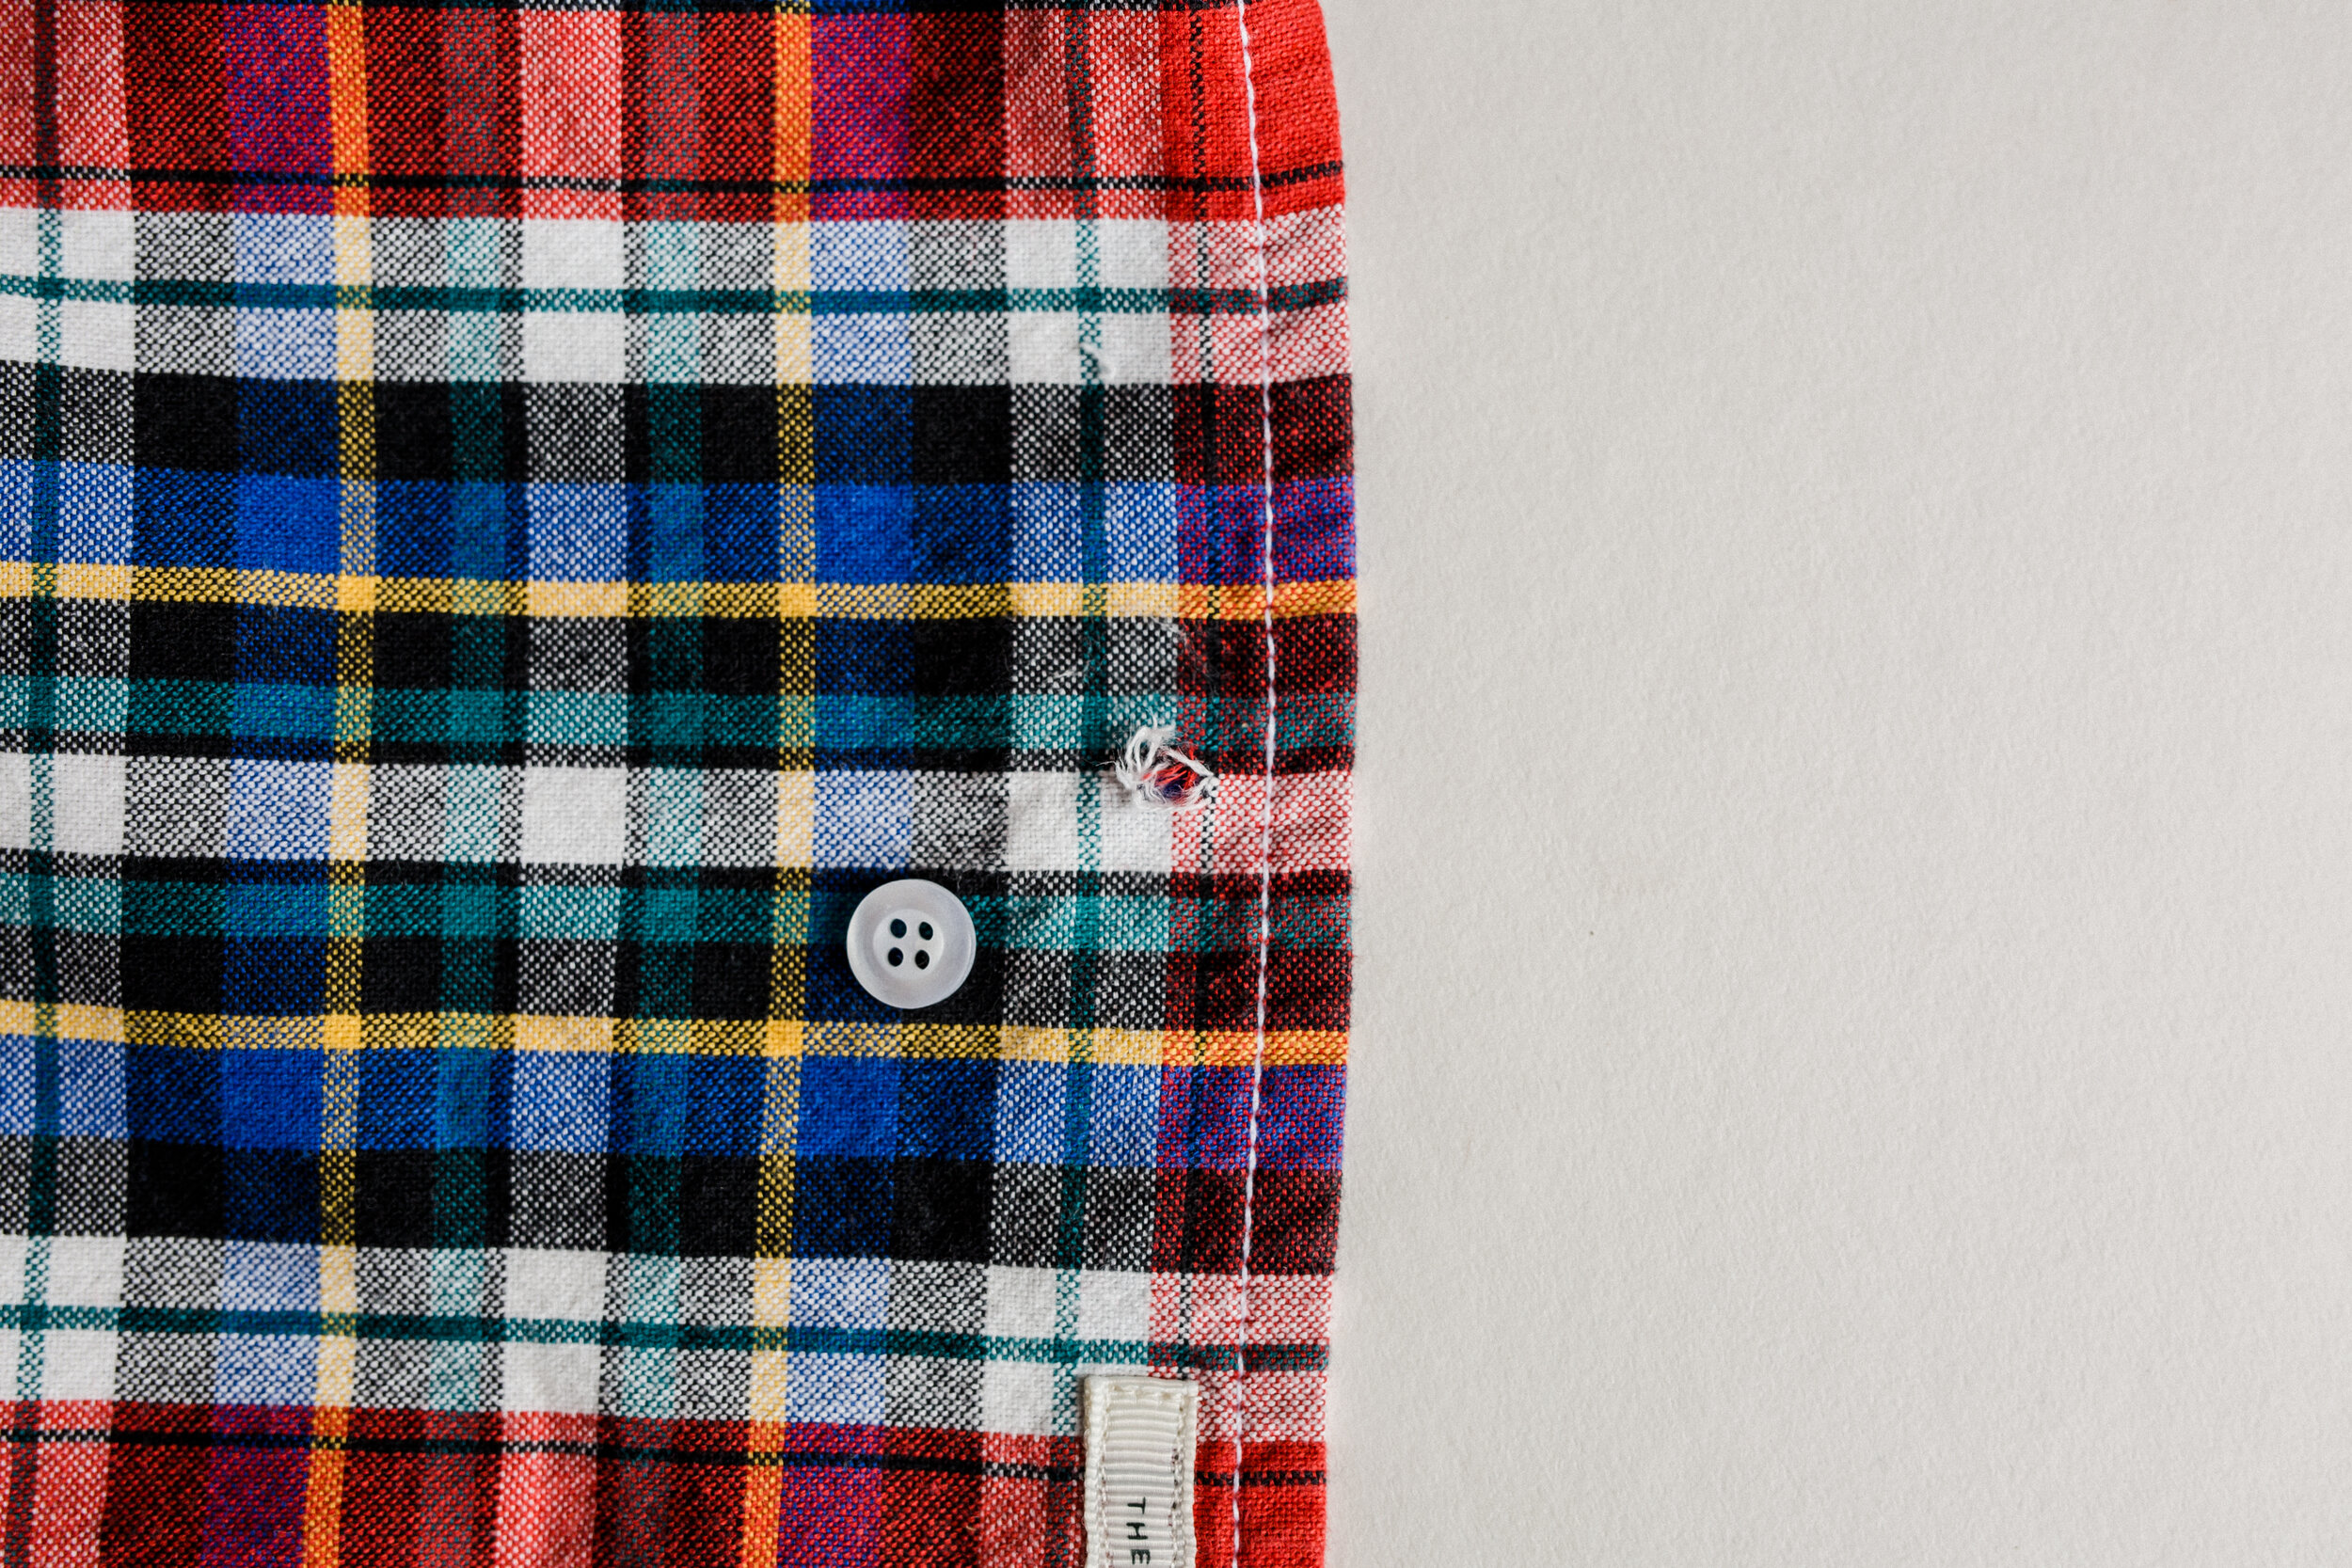
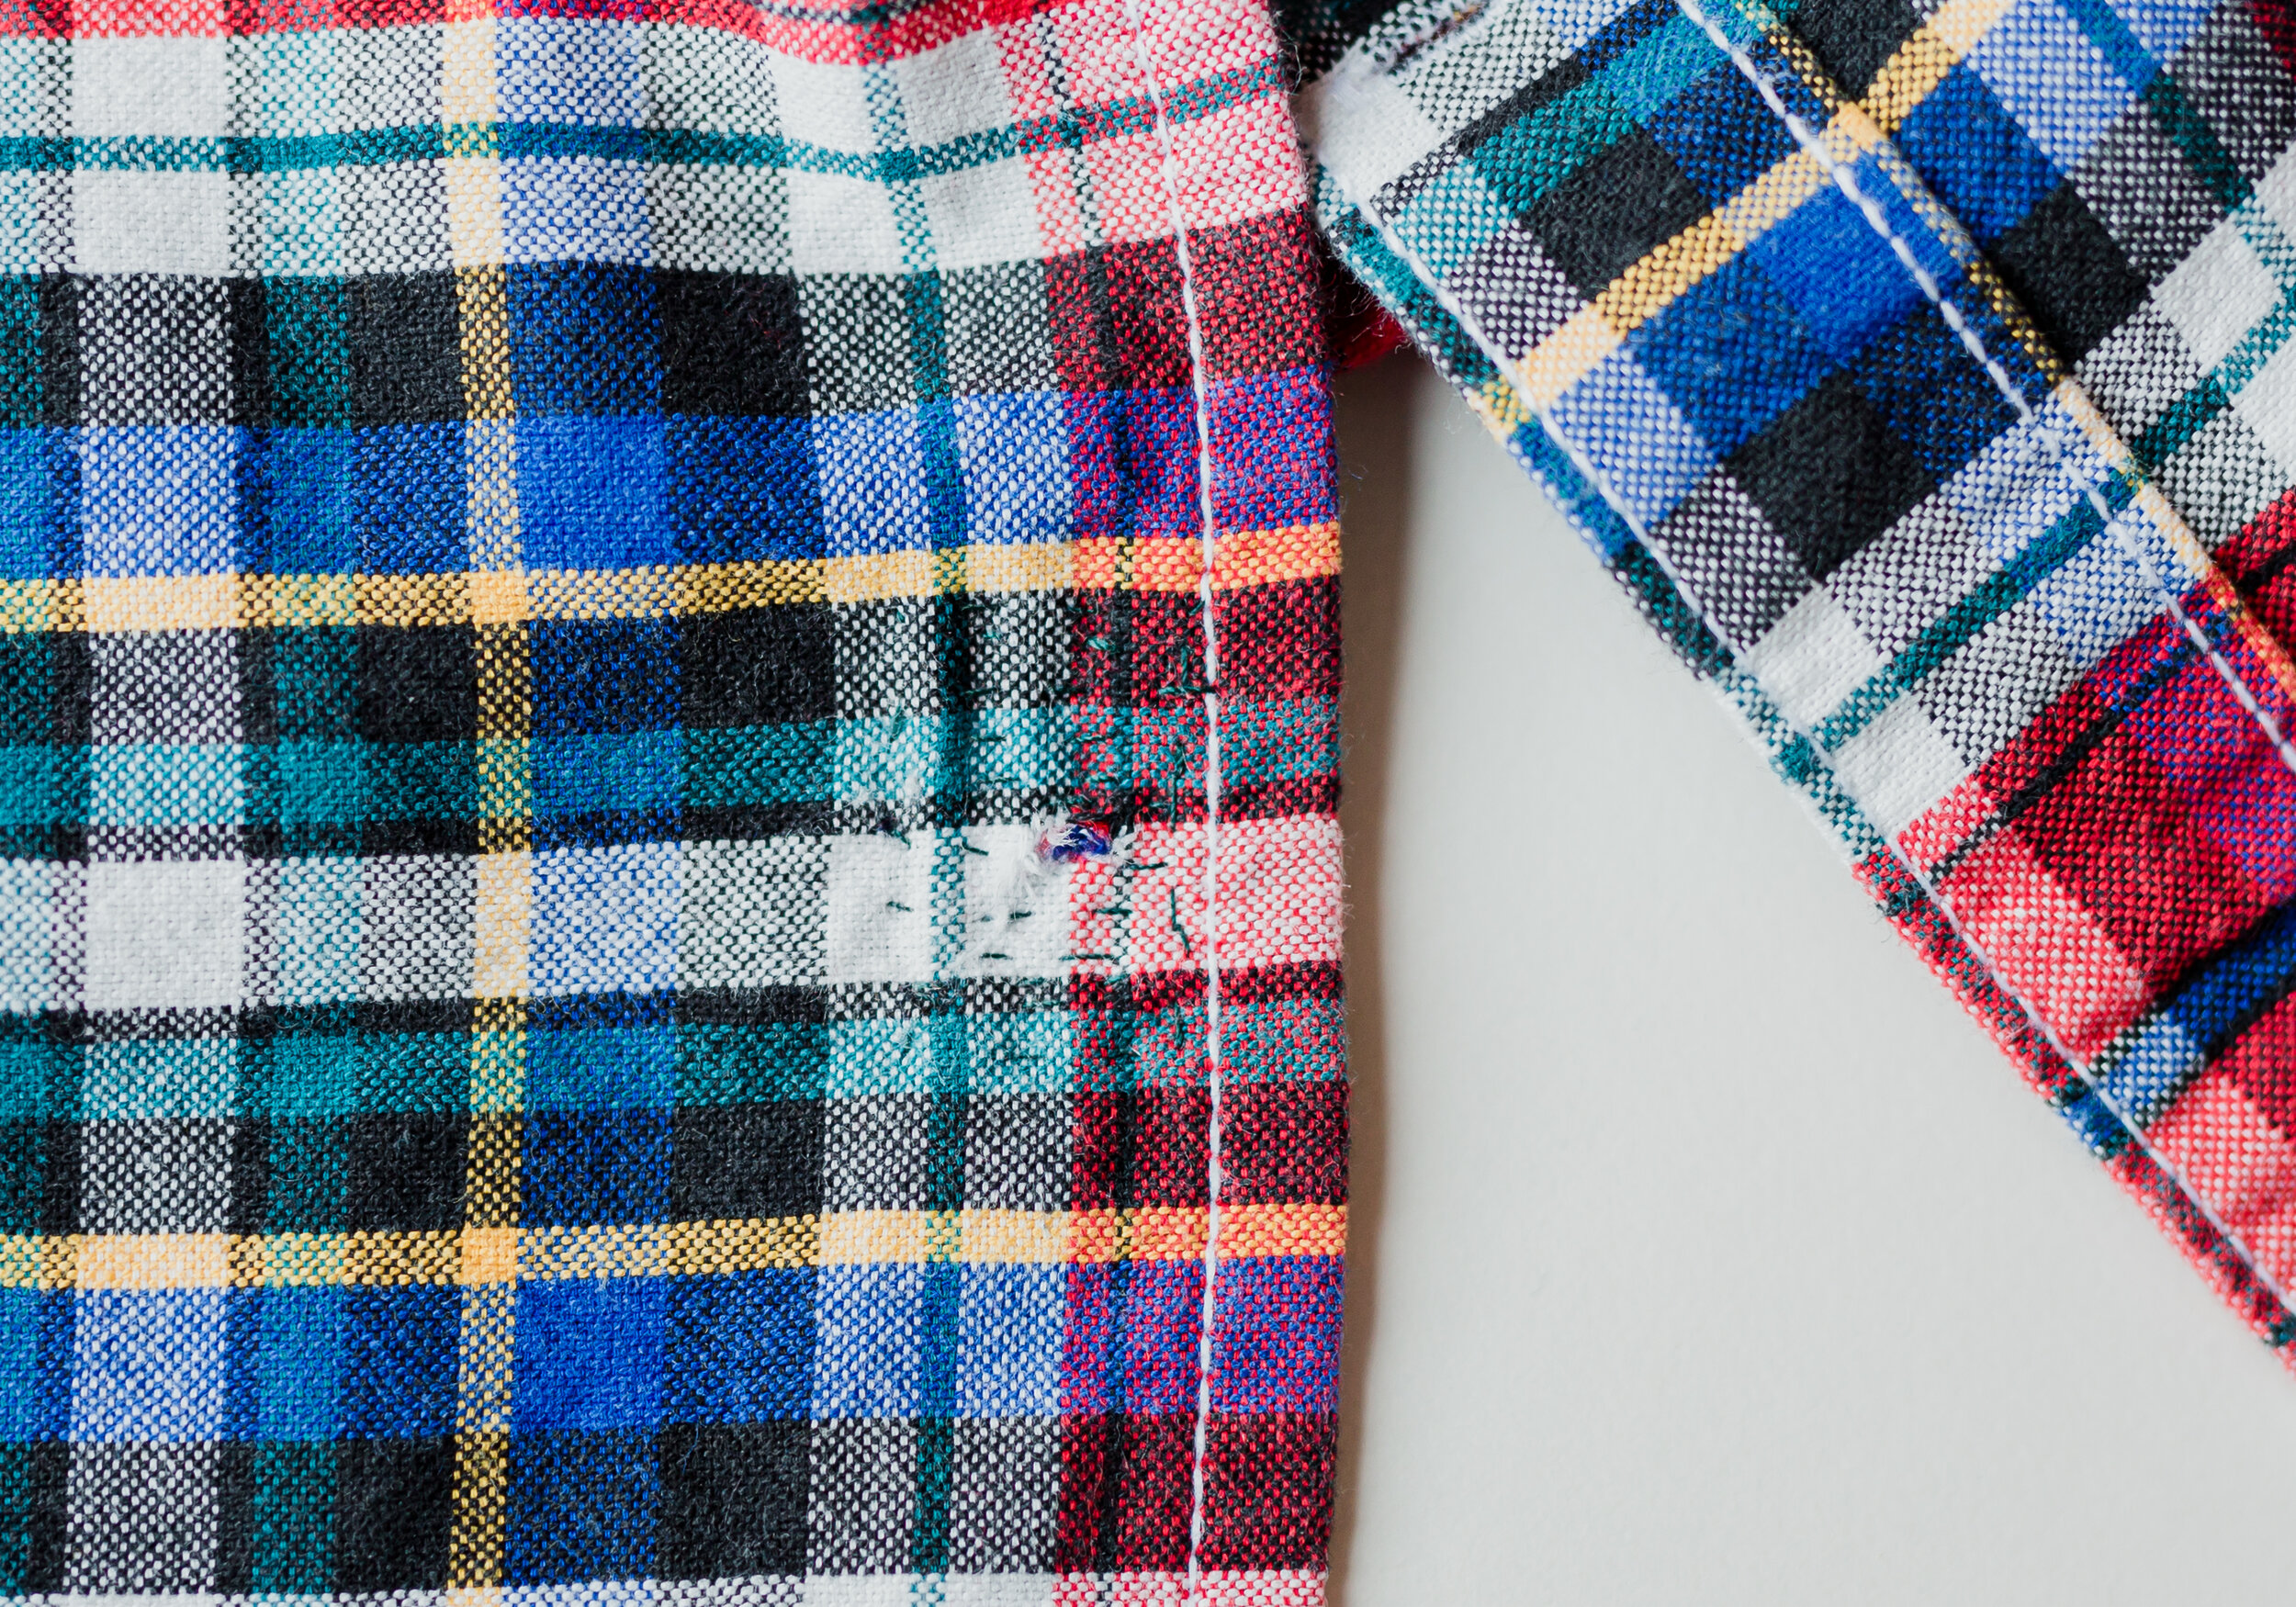
Repairing a torn off button
You can use the above visible mending method to create a new patch for the area of a torn off button (but on a much smaller scale). Once the hole where the button was, has been repaired, you can re sew on the button. Some garments come with a spare button sewn to the side care label, if you no longer have the button, you could get a similar one from a haberdashers (making sure to use the same size to fit the buttonhole). You could even replace them all to match!

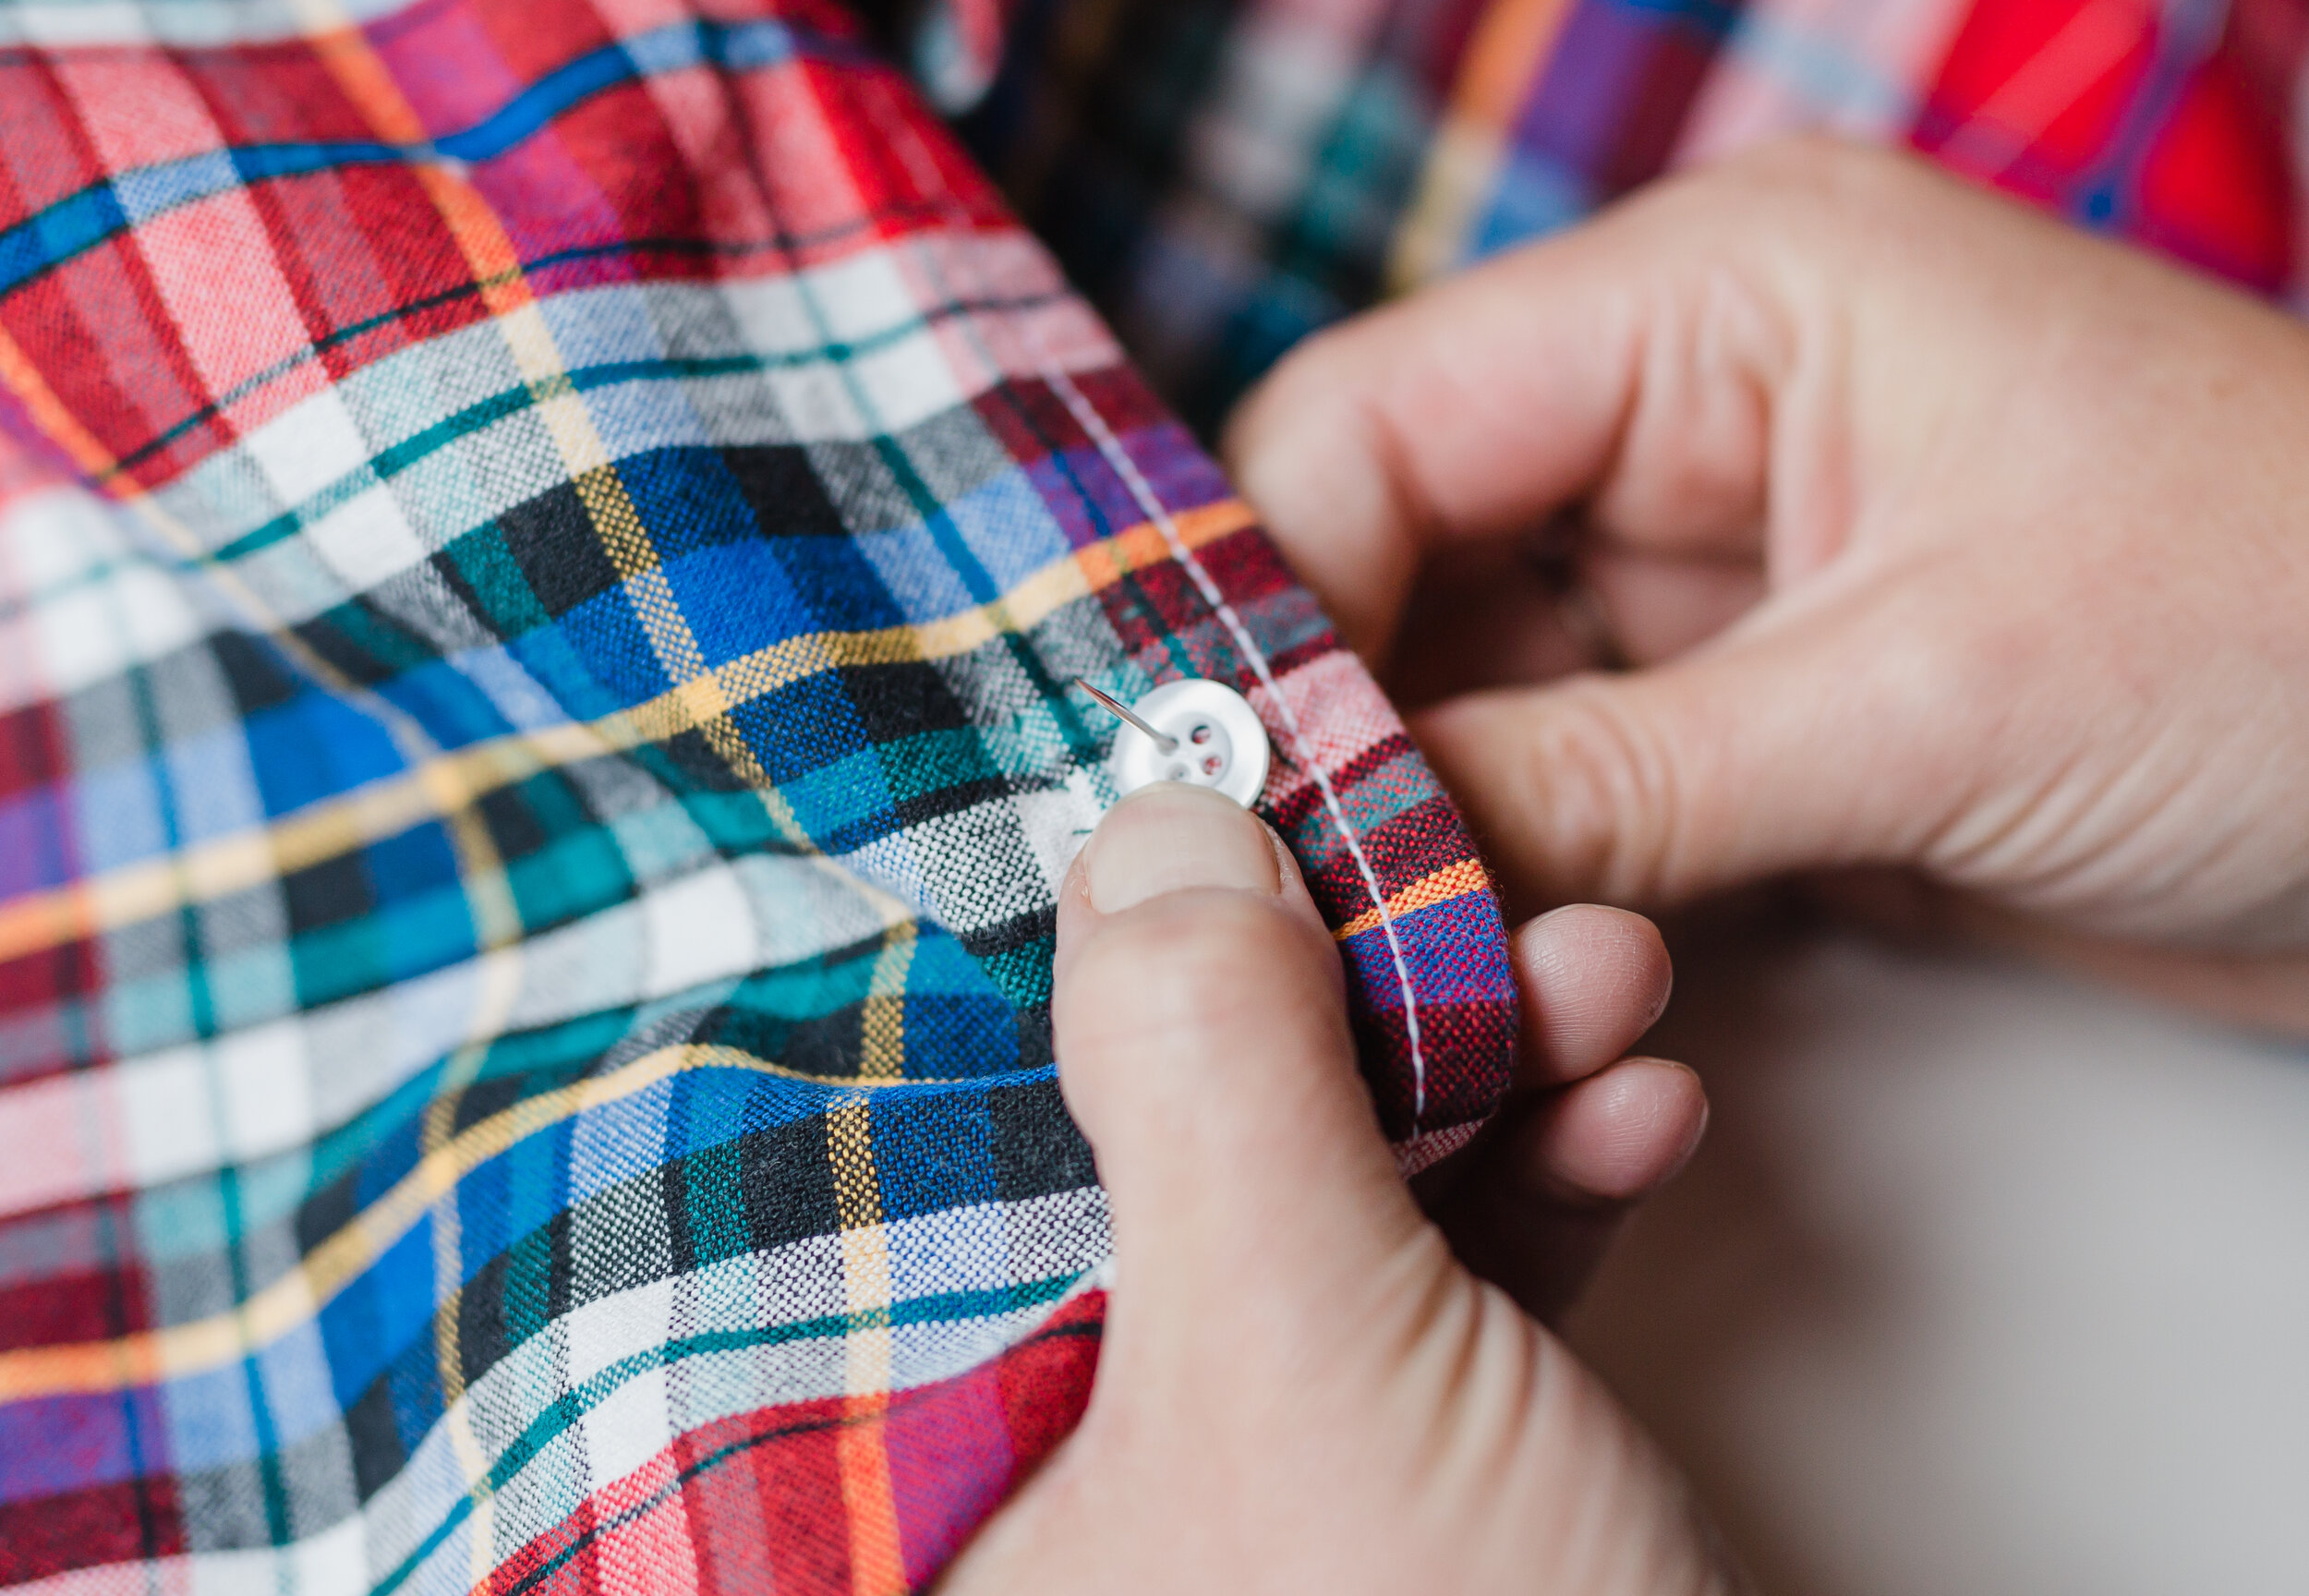
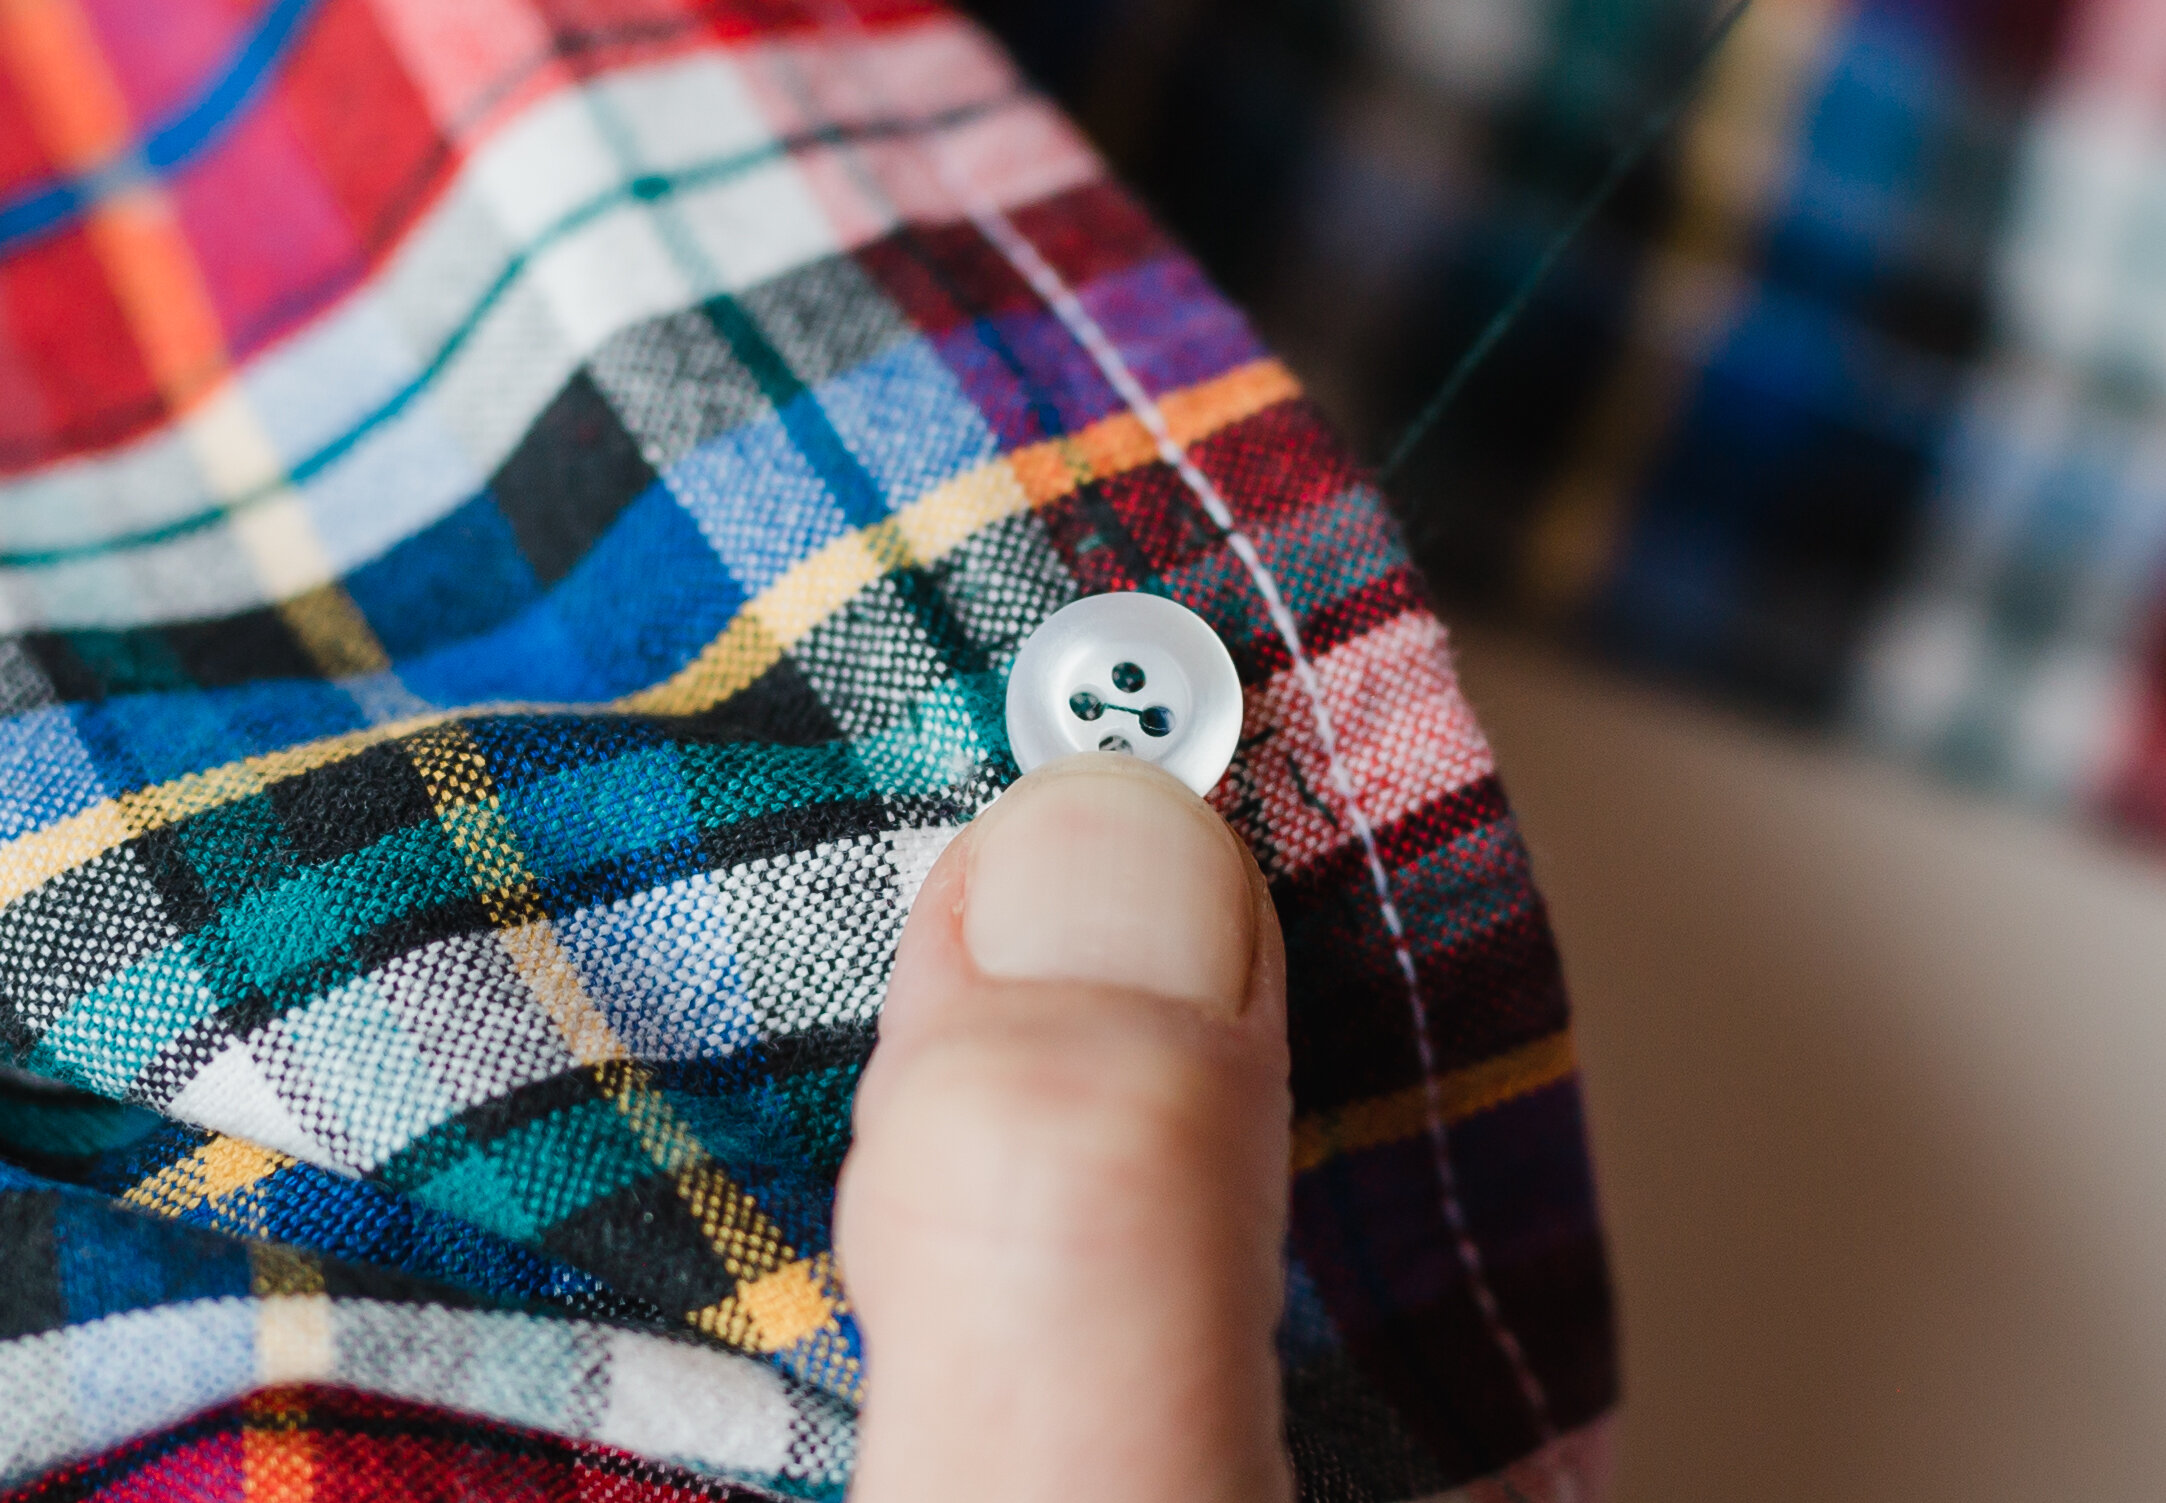
Sewing on a button:
1: Use a matching thread colour to other buttons on the garment. Make a strong knot in the end of the thread, starting from the inside of the garment, push the needle up through the fabric where the button will be, and back down again, repeat again. This makes a strong foundation to hold the button in place.
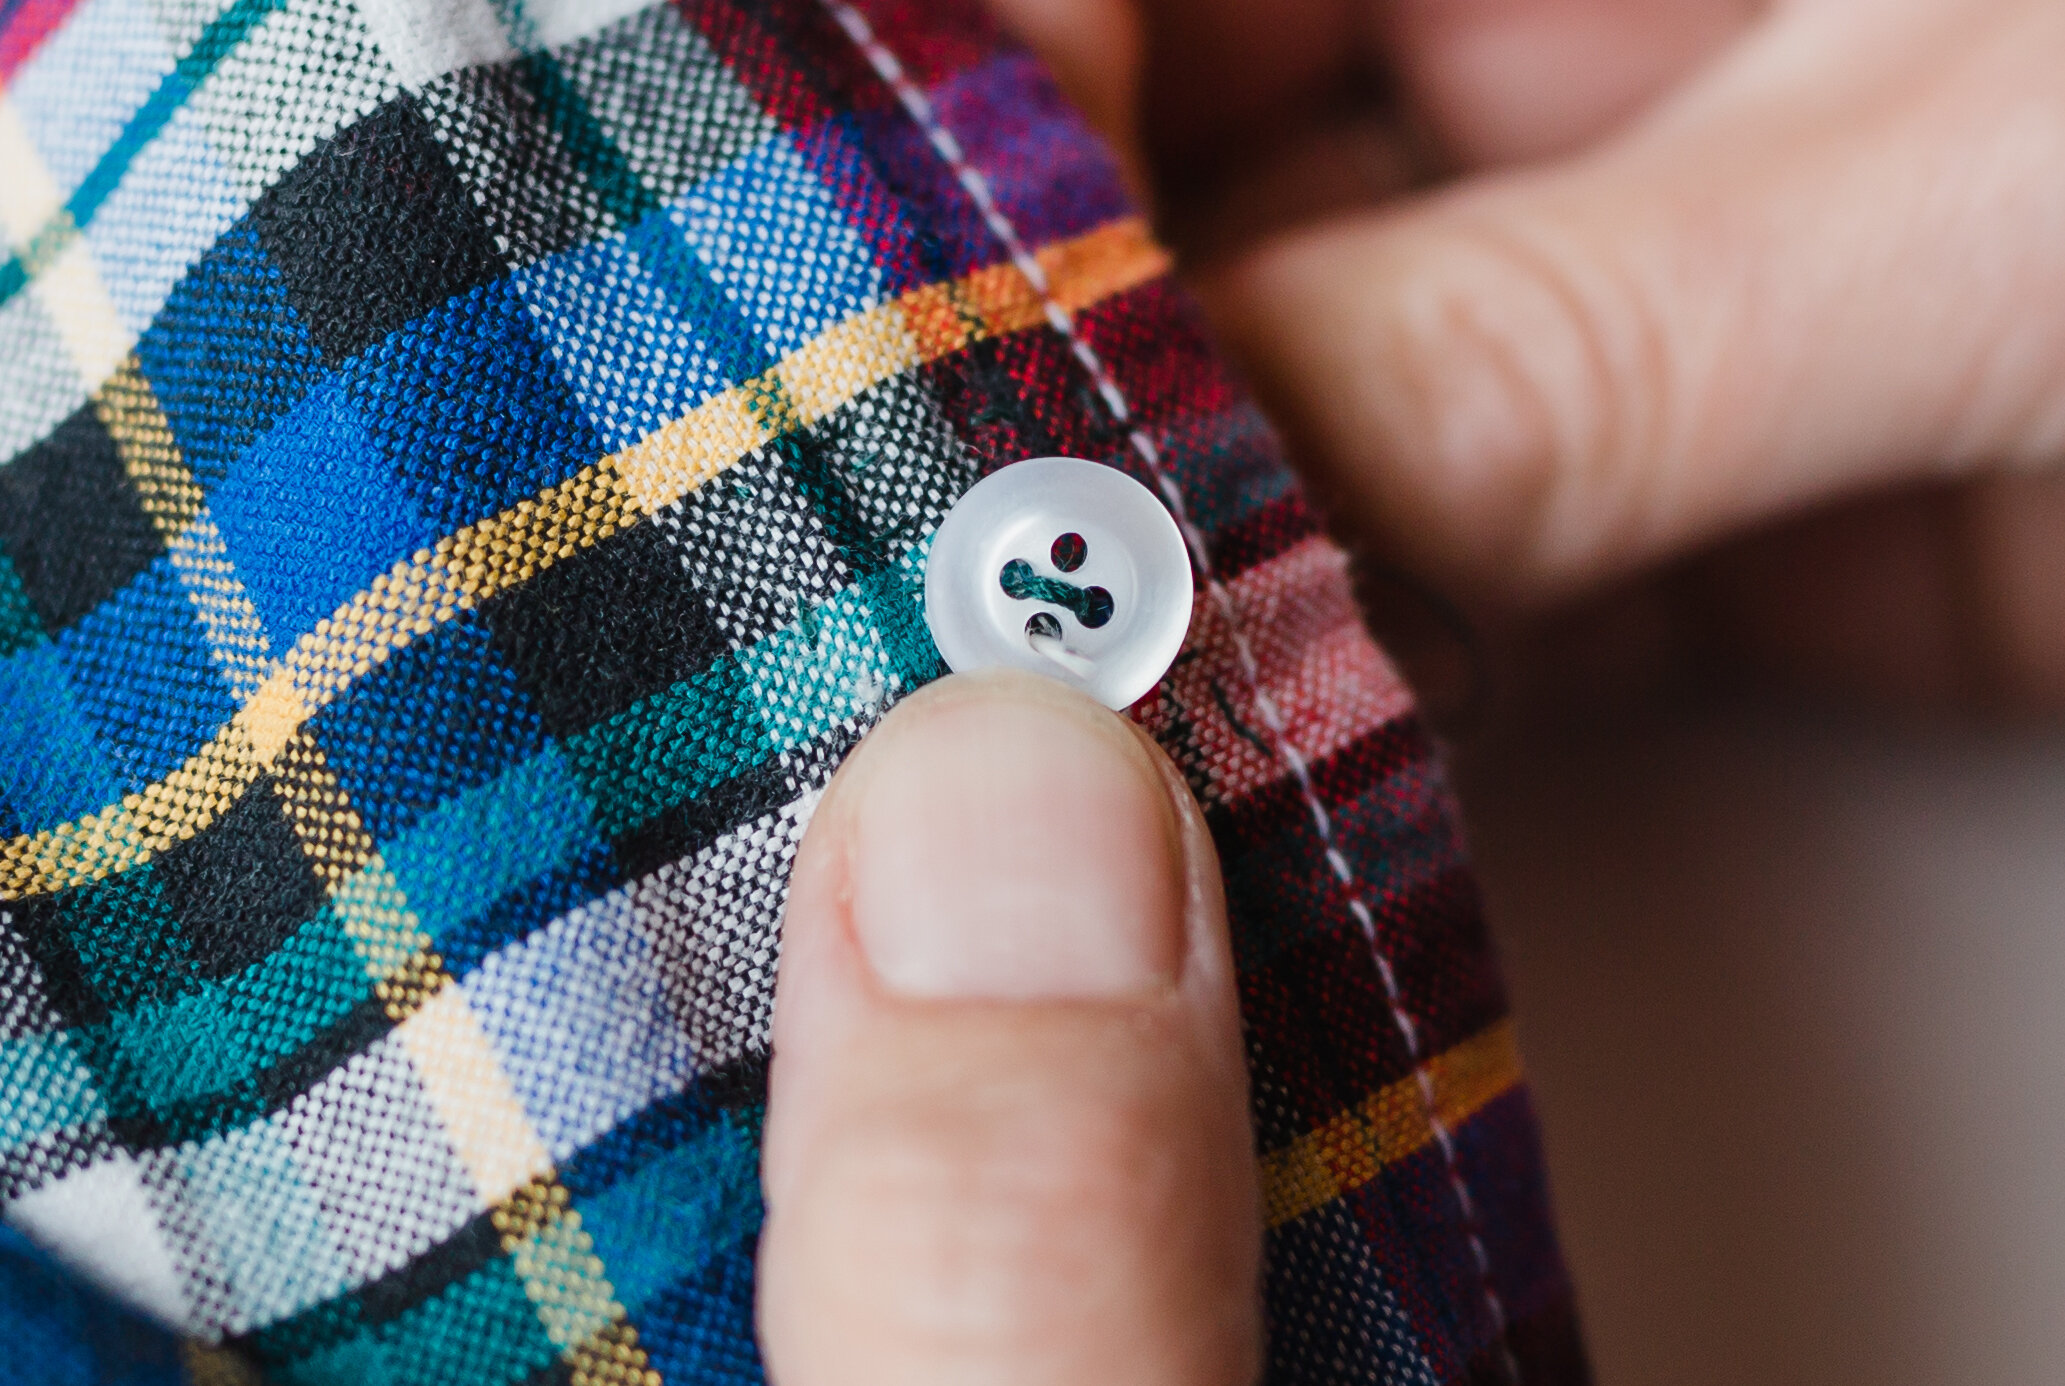
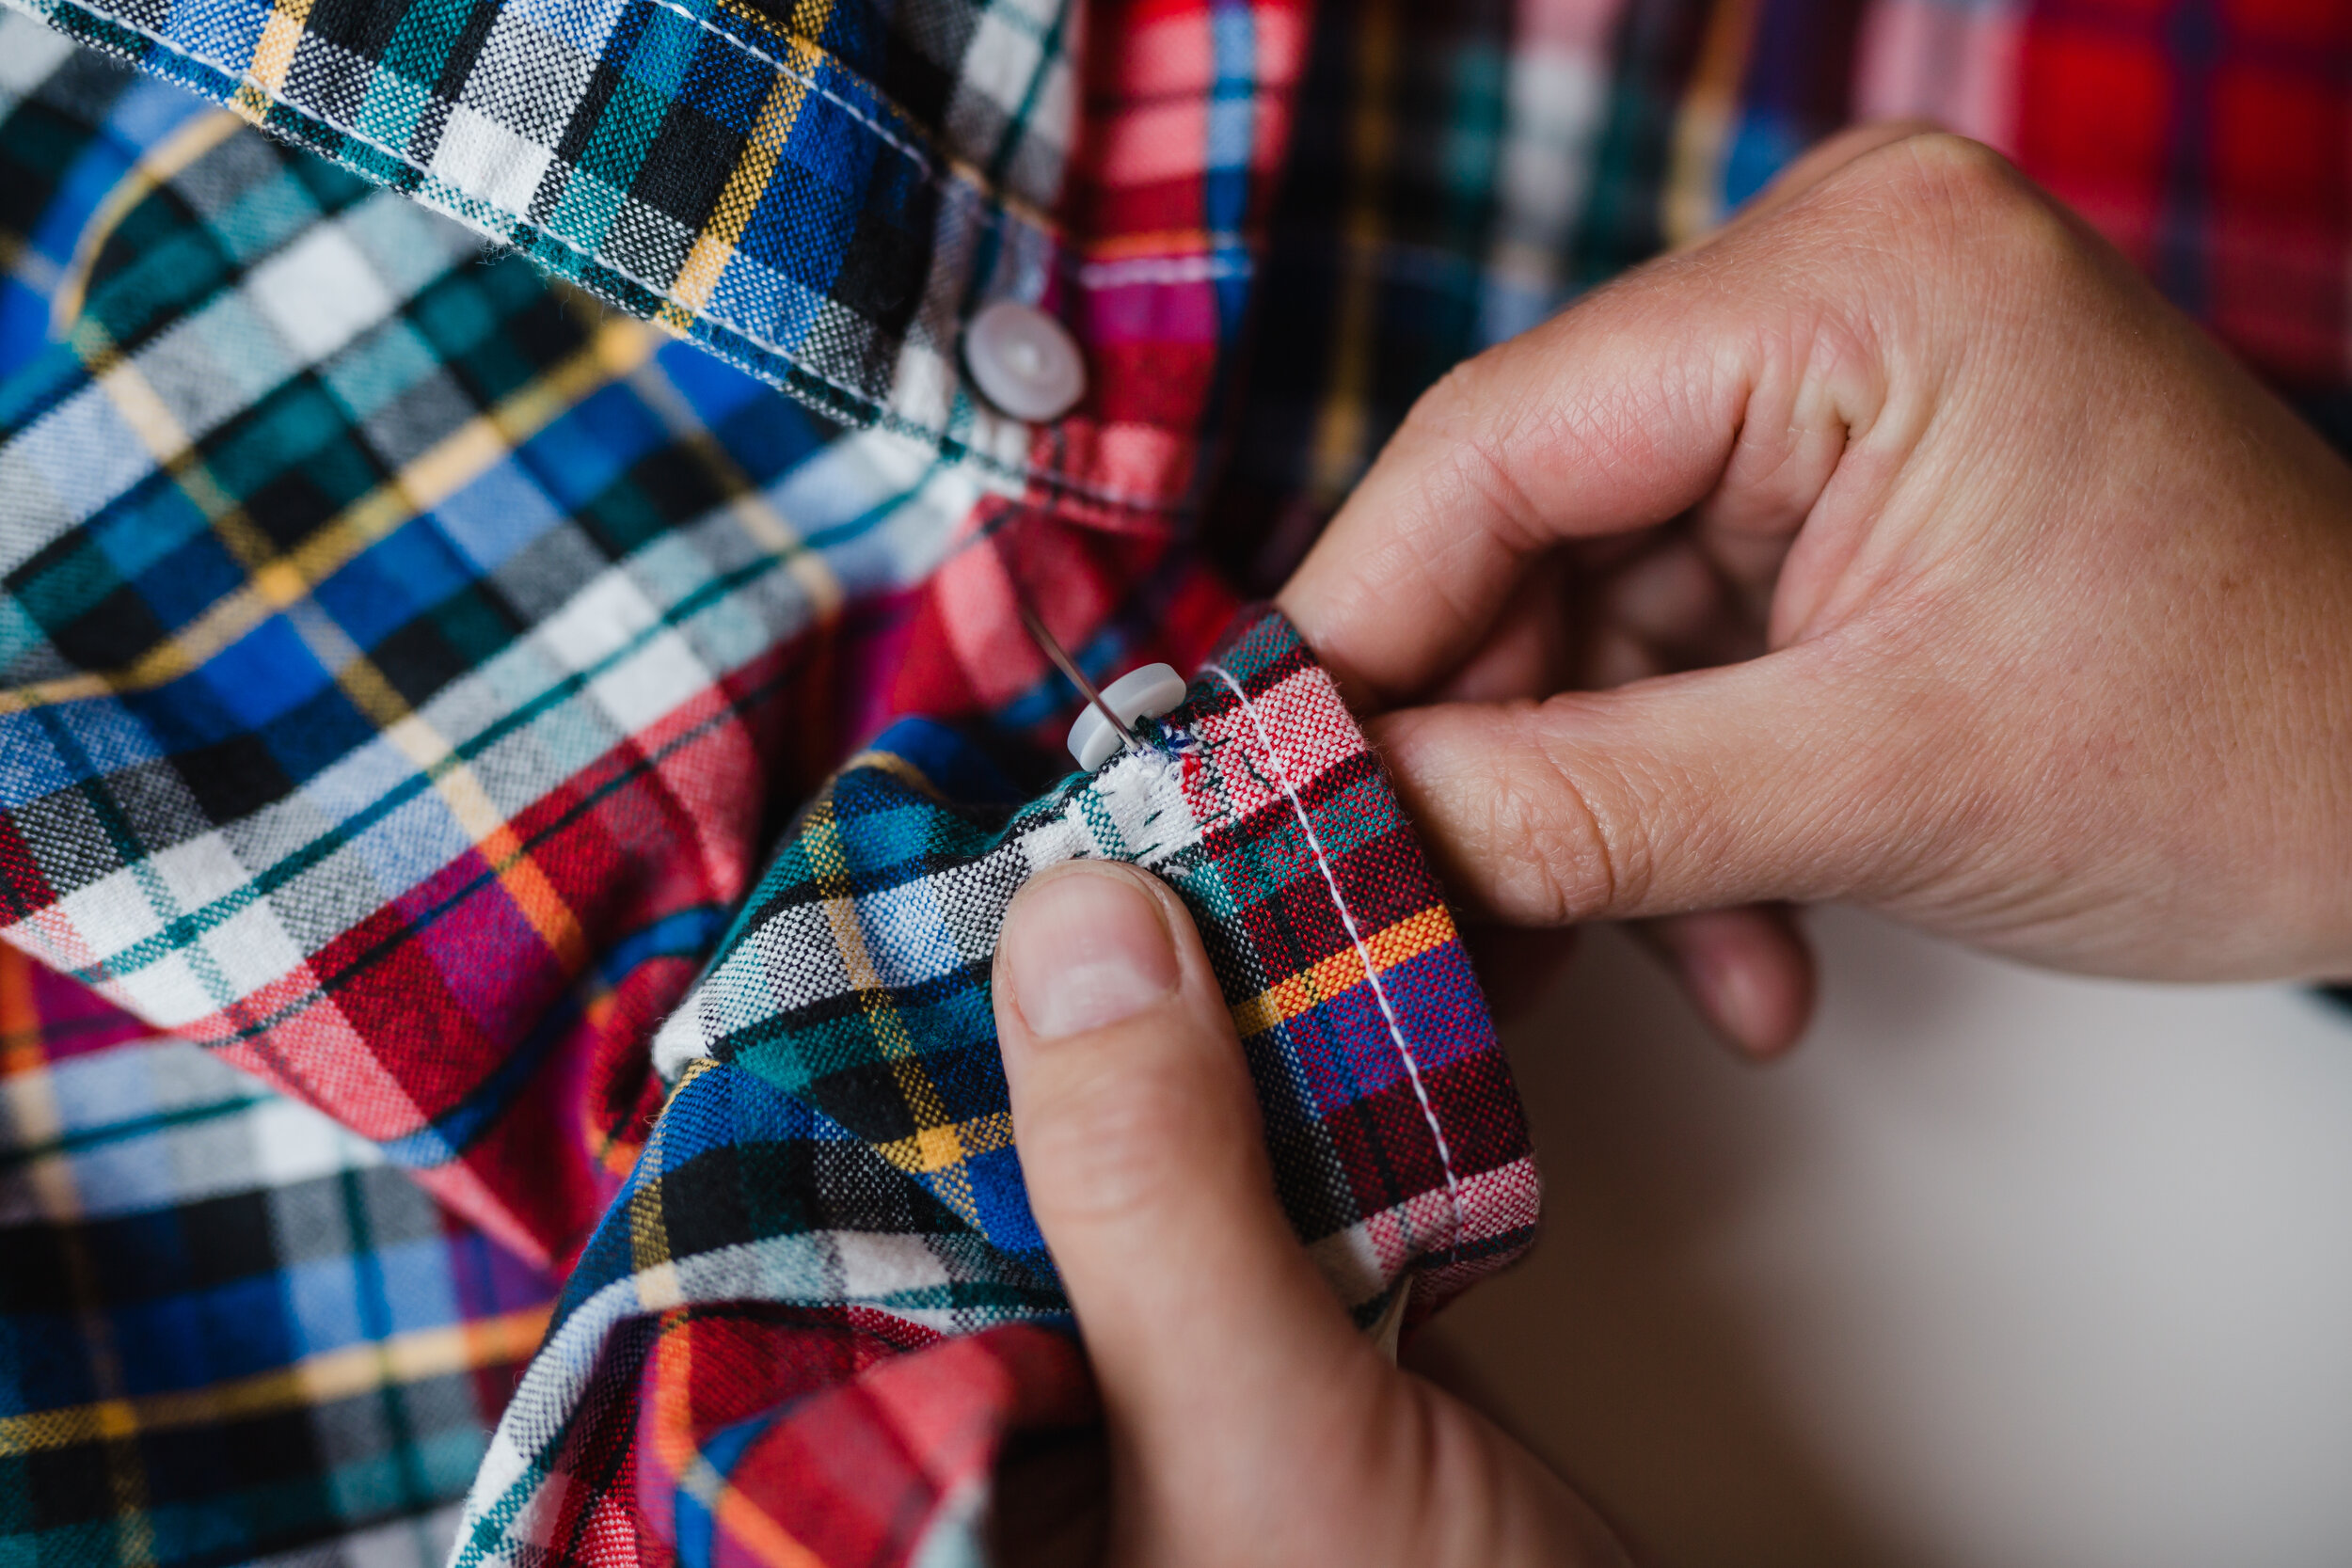
2: Now push the needle up to the outside, thread the button onto the needle, pull the needle through, then bring the needle back down through the other hole and through the fabric (in a four hole button, work with opposite holes to form a cross). Repeat this about 10 times.
3: Push the needle into the space between the back of the button and the fabric, wrap the thread round the threads holding the button to the garment several times then push the needle back to the inside of the garment. Stitch a couple of stitches over one another, knot and snip.


I hope these instructions help you to extend the life of your loved pieces of clothing.
Happy mending!